Part of our Excel Basics guide
What Is Print Excel Gridlines?
Print Excel Gridlines is a feature where we ensure that the Printout of an Excel worksheet is taken with the Gridlines displayed. An Excel worksheet, by default, will have slightly visible gridlines that make up the rows and columns of the worksheet. If the gridlines are not enabled, the worksheet looks like just a blank Word document.
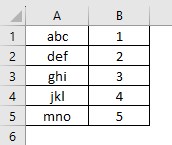
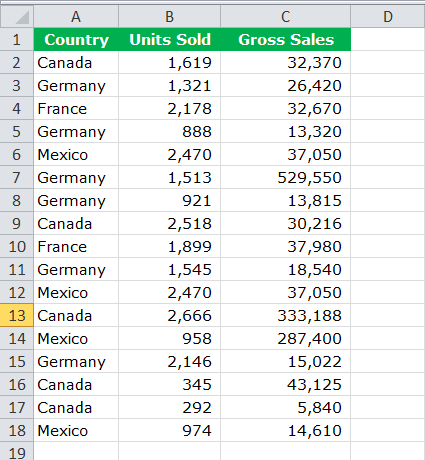
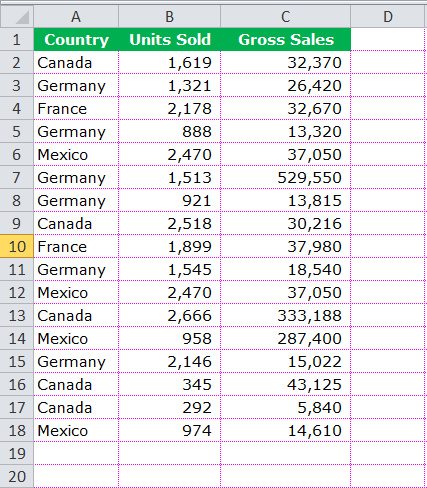
For example, open a worksheet, where by default the gridlines will be available, and select the cell range of the data given below.
Now, to Print with Gridlines, press the shortcut keys “Ctrl+P” to open the print section, and to view the Print Preview, as shown below.
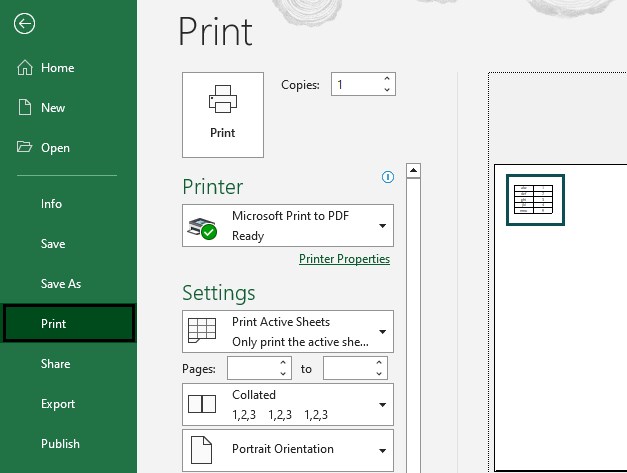
The printout will be as shown above in the print preview.
- The Print Excel Gridlines helps us print a worksheet with the Gridlines feature, which are the rectangular boxes that make up the rows and columns in a worksheet, else it will look like a blank Word document.
- When we want to print the Excel workbook, we can also ensure to use borders to print it clearly.
- We use the shortcut keys “ALT+W+VG” to show or hide the gridlines.
- We can also remove/hide the gridlines by applying a background color “No fill” to the cells/selected range in the worksheet.
How To Print Gridlines In Excel Worksheet?
The simple and easy steps to Print Gridlines in Excel Worksheet are as follows:
- First, we must check/tick the “View” checkbox of the “Gridlines” option in the “Page Layout” tab.
- Then, we must check/tick the “Print” checkbox of the “Gridlines” option in the “Page Layout” tab to print it.
- Finally, press “Ctrl+P” to open the “Print” section, and click the “Print Preview” to see the gridlines.
2 Different Methods To Print Excel Sheet With Gridlines
We can print with gridlines in two methods, namely:
- Using the “Page Layout” tab.
- Using the “Page Setup” section.
Now, let us discuss each of the methods in detail:
Method #1 – Using Page Layout Tab
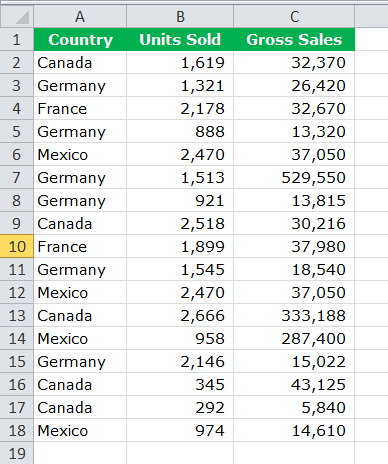
Below is the data we want to print. It has no borders.
The steps to print using Page Layout tab are as follows:
- Step 1: Go to the “Page Layout” tab > “Sheet Options” group > “Gridlines” option > check the “View” and “Print” checkboxes, as shown below.
[Note: We can only VIEW the gridlines here. If we want to print, we also need to tick the PRINT checkbox. It would print gridlines for us.]

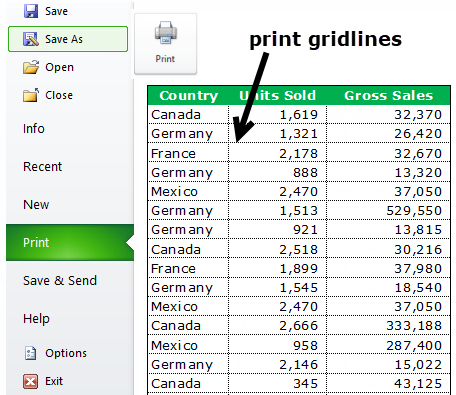
- Step 2: Press “Ctrl+P” to open the print section to see theprint preview, as shown below.
Method #2 – Using the Page Setup Tab
Below is the data we want to print. It has no borders.
The steps to print using Page Setup tab are as follows:
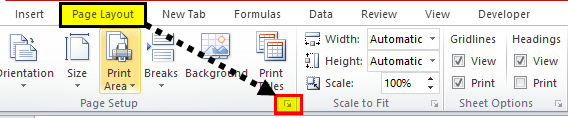
- Step 1: Go to “Page Layout” tab > “Page Setup” group > “Page Setup” box at the right-bottom > click the box, as shown below.
- Step 2: Go to the “SHEET” tab in the “Page Setup” dialog box.
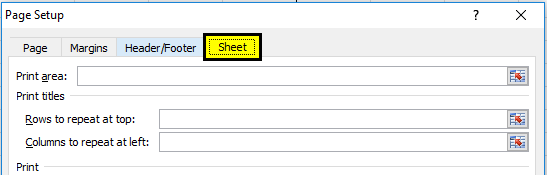
- Step 3: Under the “SHEET” tab, we have a “PRINT” section. Here, check/tick the “Gridlines” checkbox.
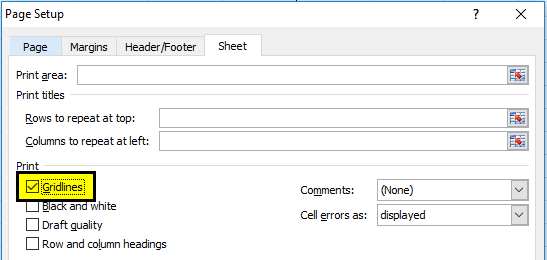
- Step 4: After you have selected the option “Gridlines,” at the end of this dialog box, click on “Print Preview” in excel.

- Step 5: It will show the print preview with gridlines, as shown below.

How To Print Gridlines With Different Colors?
By default, the gridline color is light gray in Excel. While printing, the gridline with the default color looks very subtle. We can change the color of the grid line according to our preference and make the line more beautiful. Follow the below steps to change the color of the gridline.
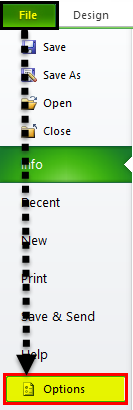
- Step 1: Go to the “File” option, then select “Options.””
- Step 2: Under “Options,” go to “Advanced.”

- Step 3: After selecting “Advanced,” scroll down, and choose “Display options for this worksheet.”
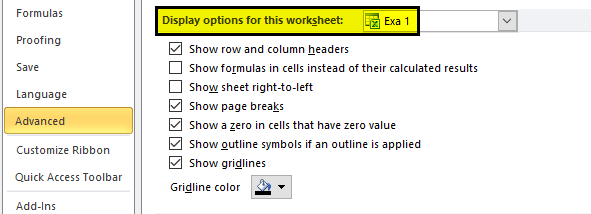
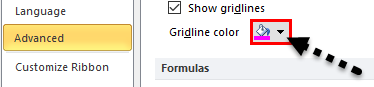
- Step 4: In this section, at the bottom, we have an option called “Gridlines” color.

- Step 5: Select the color as per your requirement.
- Step 6: Now, we have a pink grid line, as shown below.
Important Things To Note
- Whatever changes you make for the gridline apply only to the current worksheet. For each sheet, you have to do it separately.
- Removing and using gridlines is applicable for the whole worksheet, not the worksheet’s portion.
- We can remove the gridline in one shot by holding the control key, selecting all the worksheets, and clicking remove gridlines.
- Excel cannot print the gridlines without your insistence.
Frequently Asked Questions (FAQs)
1. Is there an alternate way to Print Excel Gridlines?
The alternate way to Print in Excel is using the shortcut keys “Ctrl+P”. Once we select the shortcut, the Print option opens, and the rest is the same as we learnt.
2. How to add Gridlines in Excel to Print Excel Gridlines?
The Gridlines in Excel are added in a worksheet in 2 methods, as follows:
Method #1 – First, keep the workbook open – select the “View” tab – go to the “Show” group – check/tick the “Gridlines” option checkbox, as shown below.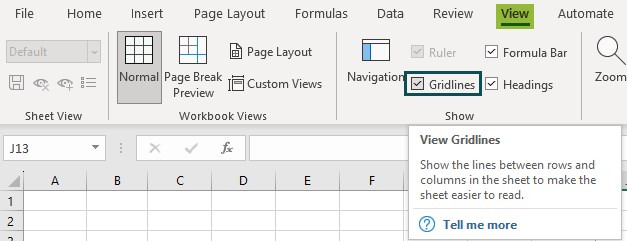
3. How to remove Gridlines in Excel to Print Excel without Gridlines?
The Gridlines in Excel are removed in a worksheet in 2 methods, as follows:
• Method #1 – First, keep the workbook open – select the “View” tab – go to the “Show” group – uncheck the “Gridlines” option checkbox, as shown below.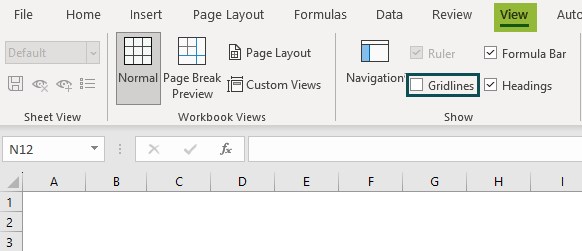
• Method #2 – First, keep the workbook open – select the “Page Layout” tab – go to the “Sheet Options” group – uncheck the “View” option checkbox under the “Gridlines” category, as shown below.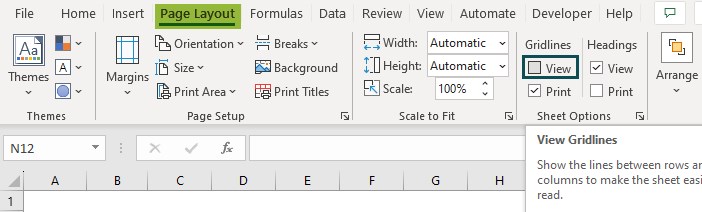
Now, in both scenarios, once the gridlines are removed, the worksheet looks like a blank Word document.
4. Why are the Print Excel Gridlines not working?
A few reasons the Print Excel Gridlines may not work are as follows:
• In the Page Layout tab, we have only checked/ticked the Gridlines and not the “Print” option.
• We have not checked/ticked the Gridline option at all, for the printouts to display gridlines.
5. How to lock the set print area in Print Gridlines In Excel?
We can lock the set print area as follows:
• First, select the area you want to print, a cell range, or a dataset.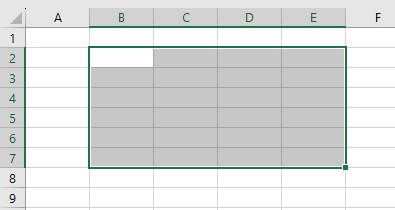
• Next, select the “Page Layout” tab – go to the “Page Setup” group – click the “Print Area” option drop-down – select the “Set Print Area” option, as shown below.
• Finally, we can see the selected cells locked, and ready to print, as shown below.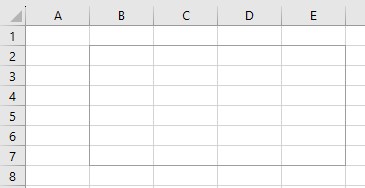
Recommended Articles
This article is a guide to Print Excel Gridlines. Here we print with gridlines & colors, using Page Layout, Page Setup methods, examples, downloadable template. You may also look at these useful functions in Excel: –
Recommended Articles
Continue with these closely related articles from the same guide.