Table Of Contents
Excel VBA Userform
Userform in VBA are customized user-defined forms made to take input from a user in a form format. Although it has different sets of controls to add, such as text boxes, checkboxes labels, etc., to guide a user to input a value and store the value in the worksheet, every part of the UserForm has a unique code with it.
UserForm is an object within the Excel interface. Inside this UserForm, we can create other useful custom dialog boxes to get the data from the user. When working with a Macro file created by your senior or downloaded from the internet, you must have seen a UserForm.

In this article, we will show you how to create a similar UserForm to store the data from the user.
How to Create Userform?
Let us start.
- Like how you insert a new module similarly, you need to click on the INSERT button in Visual Basic Editor to insert UserForm.

- It will also insert the UserForm as soon as you click on this.

Before we tell you how to program this, let me show you how to format this UserForm.
Formatting Userform
Selecting the UserForm, press the F4 key to show you the "Properties" window.
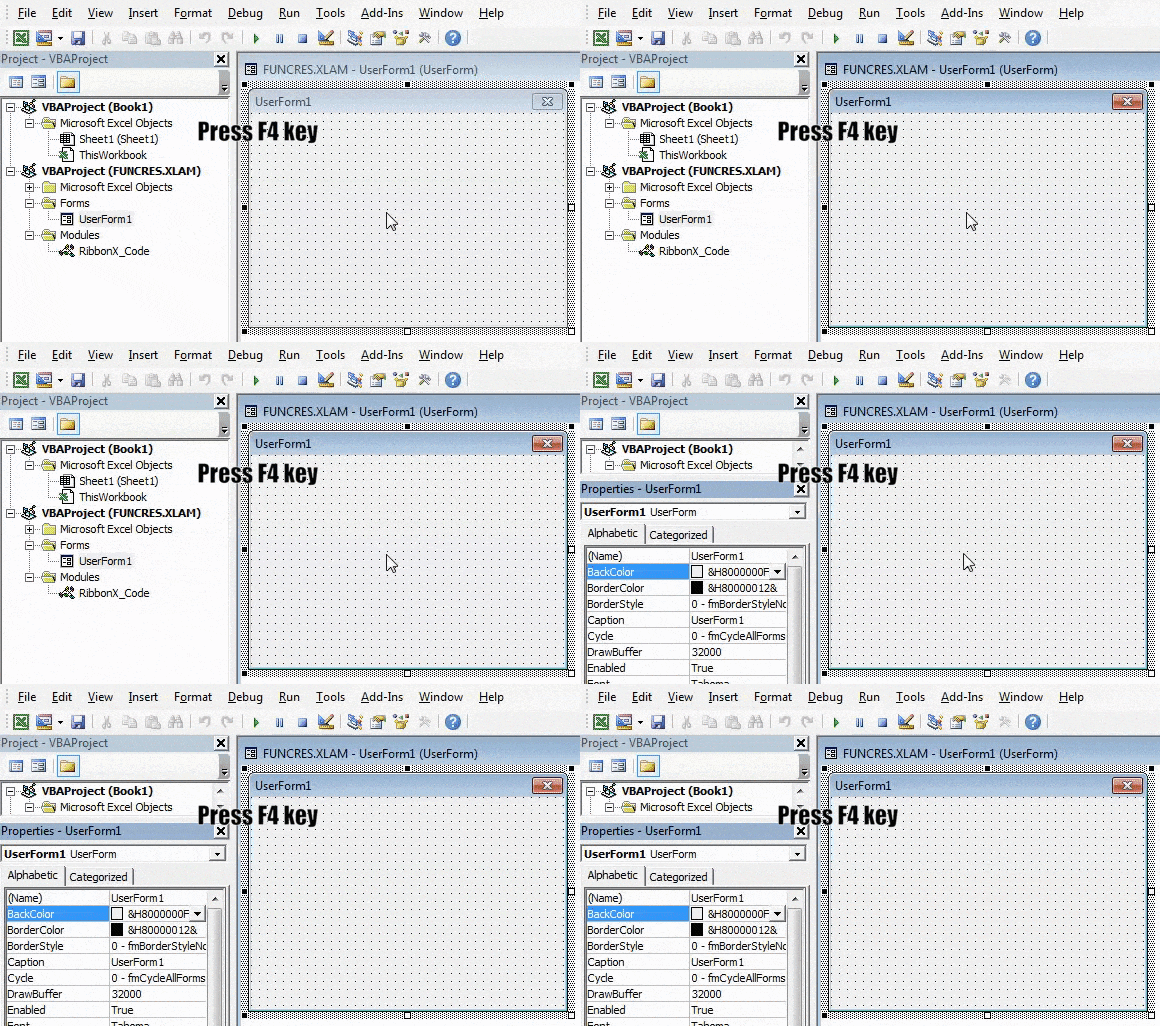
Using this "Properties" window, we can format this UserForm. We can name it. We can change the color, border style, etc.
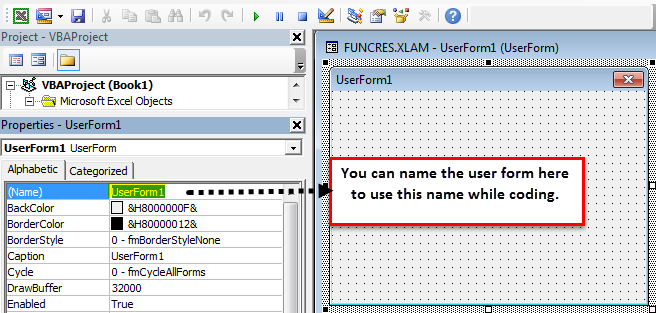
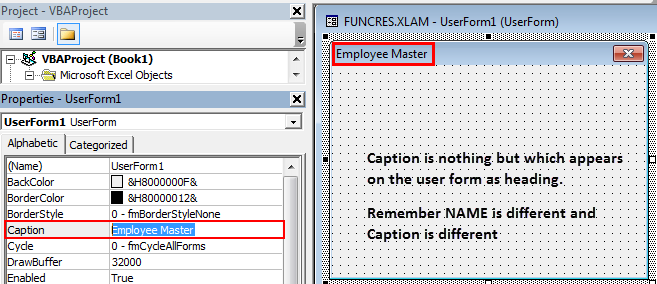
Like this, try other properties to get the sight of the UserForm.
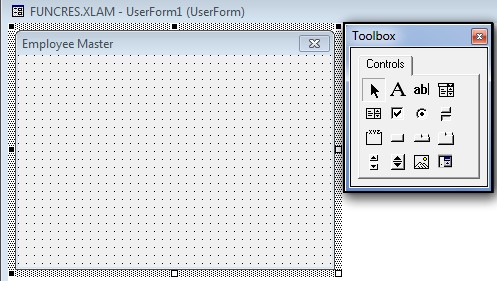
Now, for this UserForm, insert a toolbox.
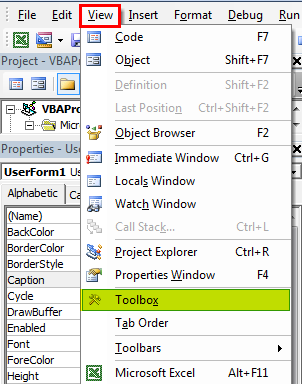
Now, we will see a "Toolbox" like this.
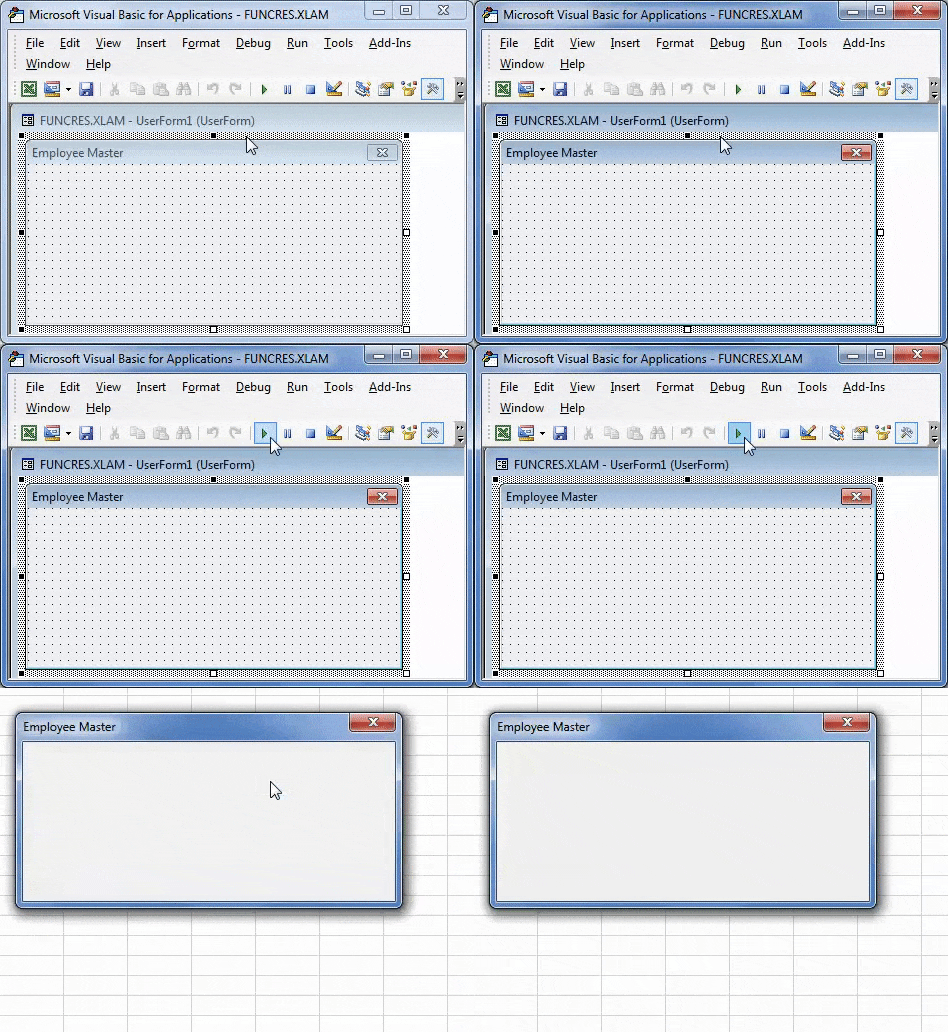
At this moment, the UserForm is inserted, not programmed. To know how it works, click on the "Run" button. We will see the form on the excel worksheet.
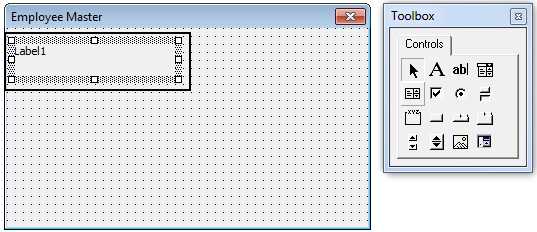
Now, use the toolbox to draw the label.
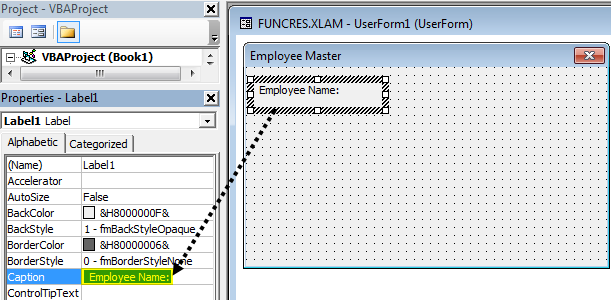
Enter the text as "Employee Name" inside the label.
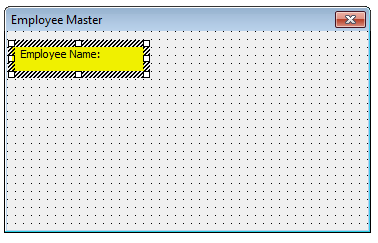
For this label, we can format it by using properties. For example, we have entered the text as "Employee Name:" and can see this in the properties window under "Caption."
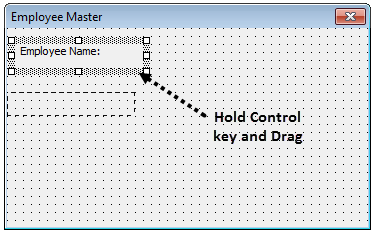
Insert one more label. You can either click on a toolbox or drag the current label by holding the Ctrl key to insert one more label. You will have a replica of the current label.
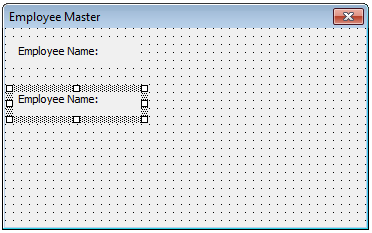
Now, we will have the same label.
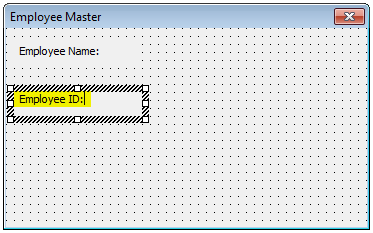
Change the name to "Employee ID."
Now, insert one more label and name it "Department."
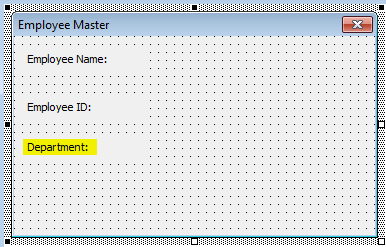
Now, from the toolbox, insert a text box.
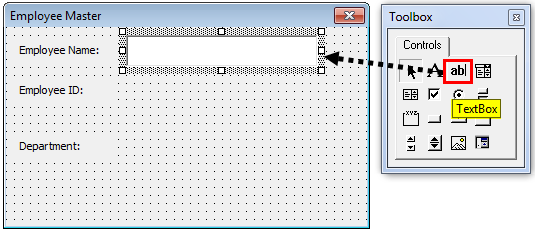
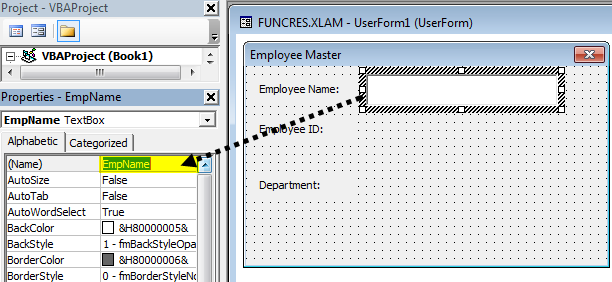
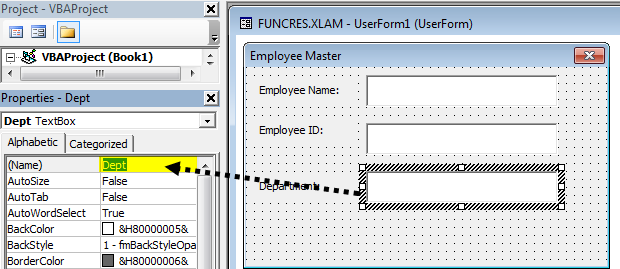
Name this text box as Employee Name in the “Properties” window.
Like this, insert two more text boxes from "Employee ID" and "Department," respectively. Name those text boxes as per their heading.
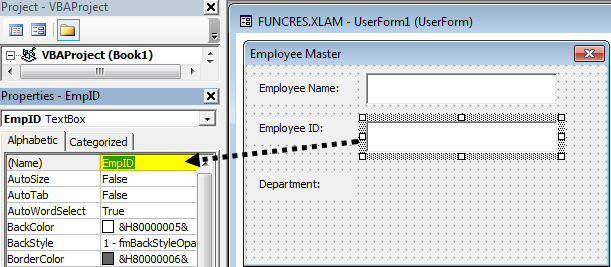
Similarly, please do it for the "Department."
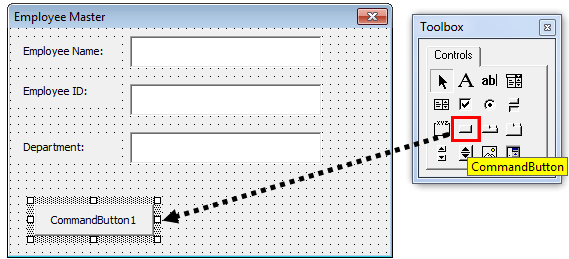
Now, from the toolbox, insert "Command Button."
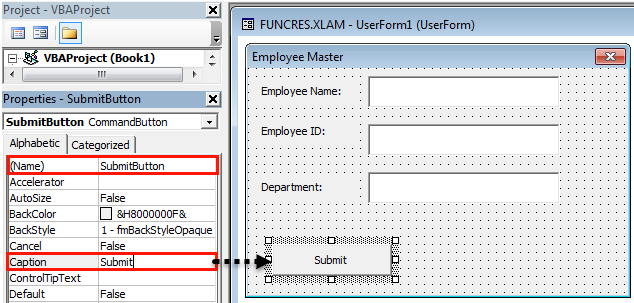
Change the name of the "CommandButton" to "SubmitButton" and change the caption to "Submit."
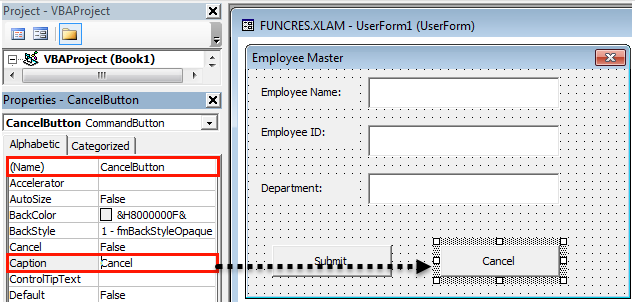
Insert one more button and call it "Cancel."
Now, to see run, press the "Run" button or use the F5 key and see how your UserForm looks like in Excel.
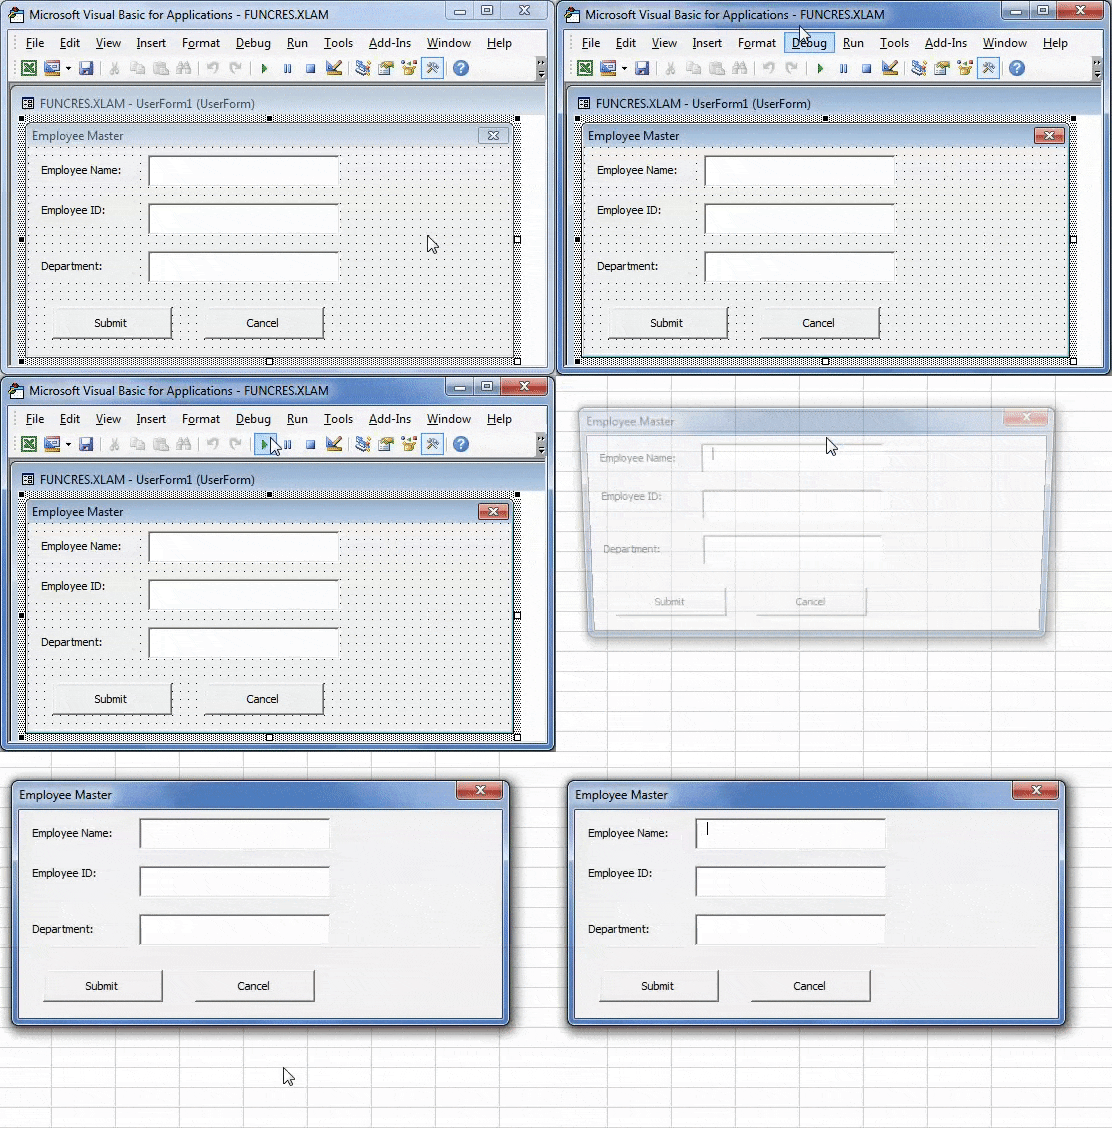
Now, it is coming into shape.
VBA Code
Now, the user will enter data, so we need to program this to store the data entered by the user on this form.
Double click on the SUBMIT button, which will take you to the Macro window with an auto-created Macro like the one below.

It says, "SubmitButton" click. Remember we had given a name for the SUBMIT button as "SubmitButton."
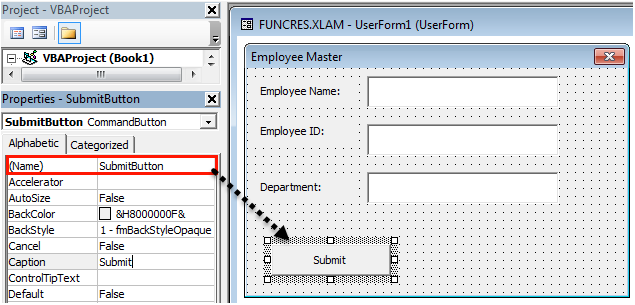
So, whenever we want to call this button, we can call this by this name (submit button). Inside this Macro, copy and paste the below code.
Code:
Private Sub SubmitButton_Click()

  Dim LR As Long

   LR = Cells(Rows.Count, 1).End(xlUp).Row + 1

   Cells(LR, 1).Value = EmpName.Value
   Cells(LR, 2).Value = EmpID.Value
   Cells(LR, 3).Value = Dept.Value

   EmpName.Value = ""
   EmpID.Value = ""
   Dept.Value = ""

End Sub
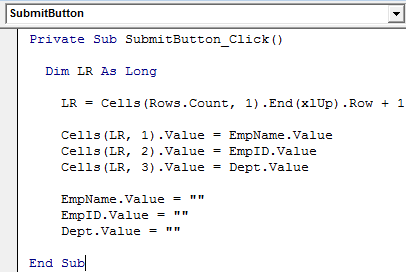
- EmpName.Value here EmpName is the text box name we had given while creating the employee name text box.
- EmpID.Value here EmpID is the text box name of the "Employee ID" text box.
- Dept.Value this is the "Department" text box name.
So, clicking the "Submit" button will store the values in the mentioned cells.
Now, double-click on the "Cancel" button. It will also show you the auto macro name like this.
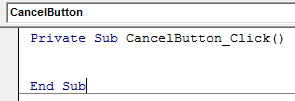
Please copy the below code and paste it.
Code:
Private Sub CancelButton_Click()

 MyUserForm.Hide

End Sub
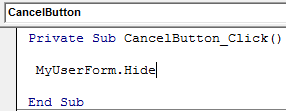
MyUserForm is the name we had given to the UserForm. MyUserForm.Hide means clicking the CANCEL button, which will hide the UserForm.
Now, create a template like this in the worksheet.
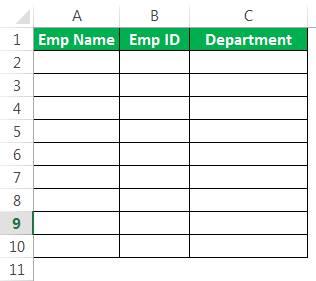
Delete all the other sheets in the workbook except this template sheet.
Now, go to Visual Basic Editor.
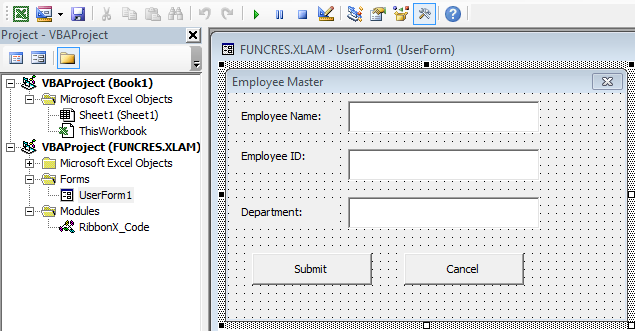
And run the Macro using the F5 key or manually. We will see the UserForm in front of us.
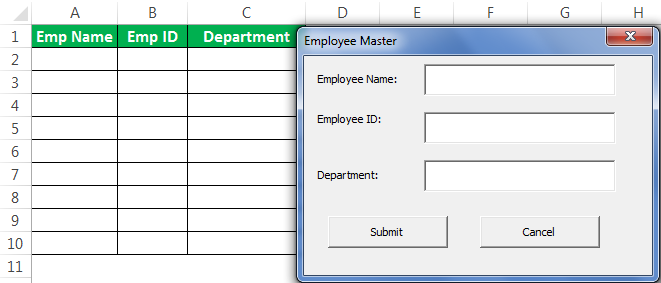
Enter the Employee Name, Employee ID, and Department name.
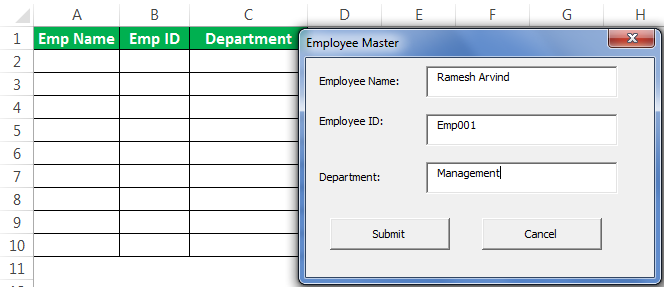
Now, if you click on the SUBMIT button, it will store the values on the template we have created.
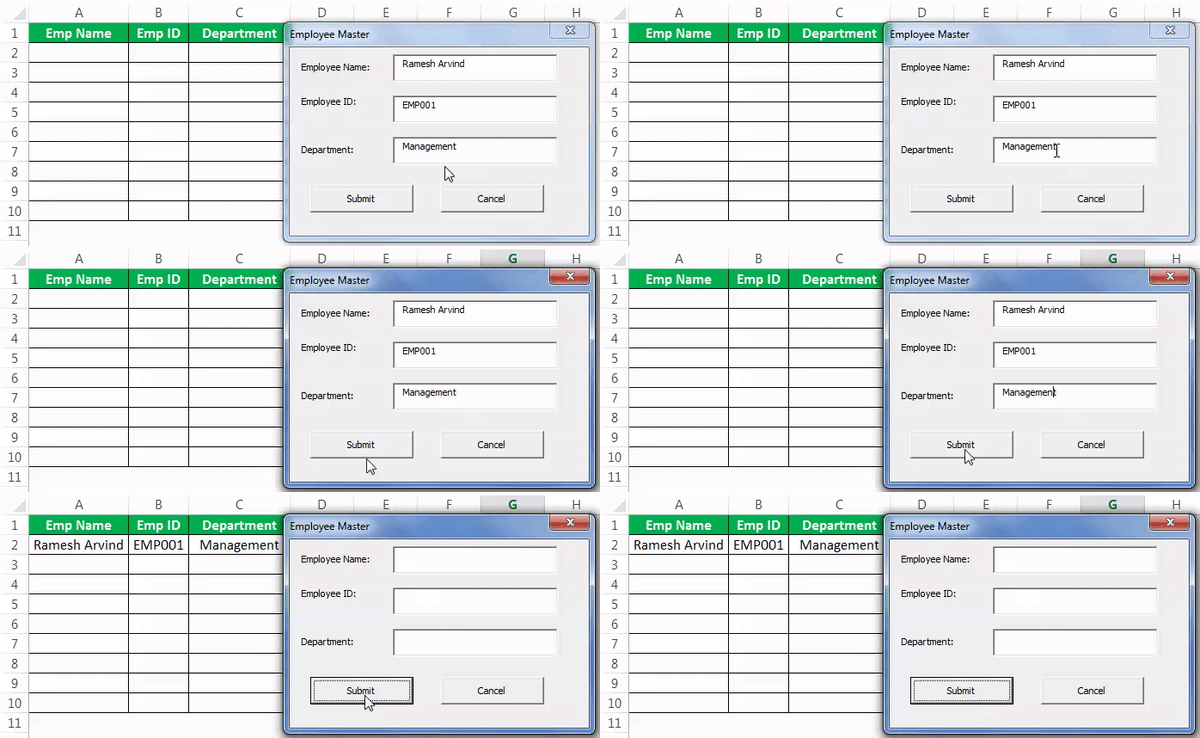
Like this, you can keep entering the names. The UserForm will keep storing the values entered by the user in the specified cells.
So, by using the USERFORM, we can create wonderful projects to get information from the user.

