Part of our Excel Basics guide
What Is Share An Excel Workbook?
Share an Excel Workbook, as the name suggests, helps multiple users work at the same time on one shared worksheet. We can enable the shared option in Excel so that many users with access can simultaneously.
For example, to share an Excel workbook with other users, we need to save it to a local network location where others can access it and make changes. We also can keep track of those changes and can accept or reject those changes as per the requirement. Using the “Review” tab, we can share the workbook, as shown below.

Key Takeaways
- The Share an Excel Workbook is an effective way to work simultaneously on a single workbook, by different users, from different machines, places, etc.
- It avoids saving multiple worksheets data, and then merging them, which in turn, saves time.
- We must ensure to protect the workbook, using a password, so that the admin can have complete control to track the changes by users, which helps reduce errors.
- We can have control to add or remove users or accept or reject changes at any given time using the shared workbook.
How To Share An Excel Workbook?
Let’s take the below example to understand how to share an Excel sheet.
We have given the below customer details in a workbook saved with “Customer Data.”

The steps for sharing an Excel workbook in excel are,
- First, go to the REVIEW tab, and click the “Share Workbook” option under “Changes”. You may refer to the below screenshot.

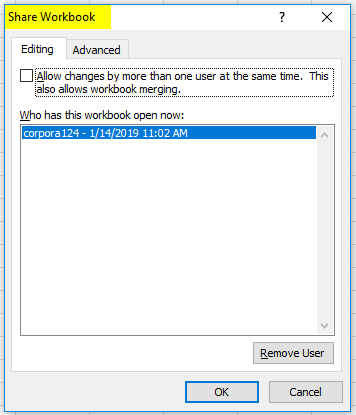
- Then, an Excel “Share Workbook” File dialog box will appear. See the below screenshot.

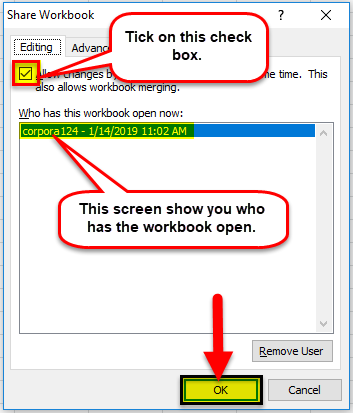
- Under the Editing tab, tick the checkbox, and click OK.

- By clicking on this checkbox, we are giving access to other users for editing.
- The screen above shows the one who has the workbook open.
- After clicking “OK”, one dialog box will appear with a message. For example, refer to the below screenshot.

- Click OK, and finally, save the workbook.


Highlight The Changes Done On Excel By Other Users
We can also highlight the changes which other users have made.
The steps to highlight the changes to keep track of the work are,
- Step 1: Go to the REVIEW tab, and click the Track Changes option in Excel under the Changes section, as shown below.

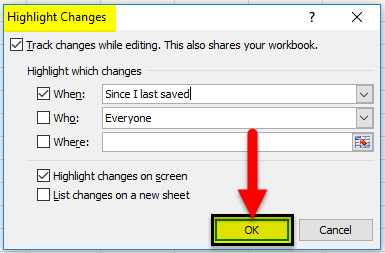
- Step 2: When we click the “Track Changes” drop-down option, we get options, as shown below. Click on “Highlight Changes…”.

- Step 3: The “Highlight Changes” dialog box opens. Here, click OK, as shown below.
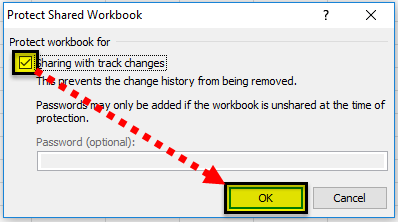
- Step 4: Now, click the “Protect Shared Workbook” option under the “Changes” section, as shown below.

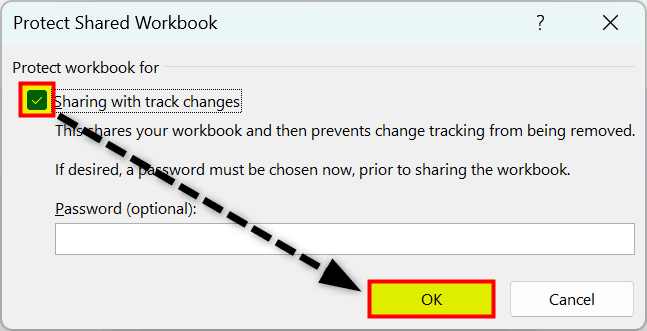
- Step 5: It will open a dialog box. Tick on the checkbox, and click OK, as shown in the below screenshot.
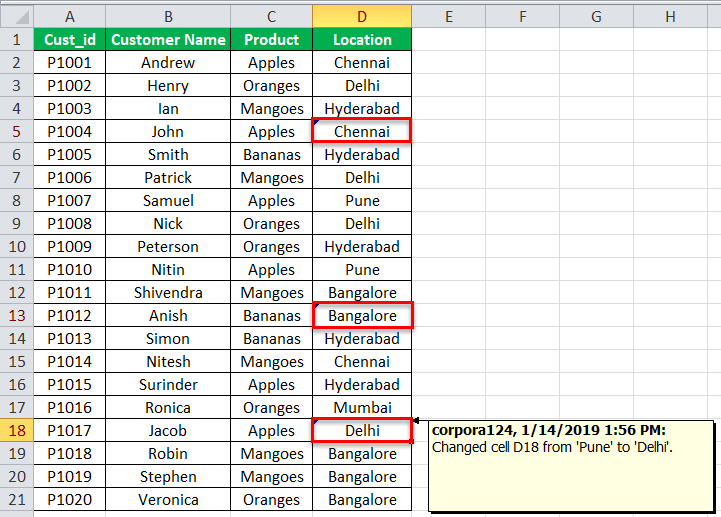
- Step 6: Now, Excel will show the changes done by the users. The sheet automatically highlights the changes wherever we do, as shown in the screenshot below.
How To Accept/Reject The Changes Done By Other Users?
The steps to accept/reject the changes done by other users if those changes are not according to our requirements are,
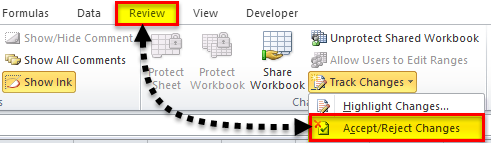
- Step 1: Go to the REVIEW tab, click on the Track Changes in excel under the Changes section, and select the Accept/Reject Changes option from the list, as shown below.
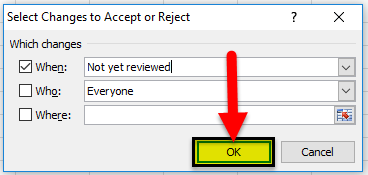
- Step 2: A dialog box will appear, click OK, as shown in the below screenshot.
- Step 3: Then, another dialog box will appear. It will show you all the changes one by one, as shown below. It will also highlight the cell in the spreadsheet where the changes are made.
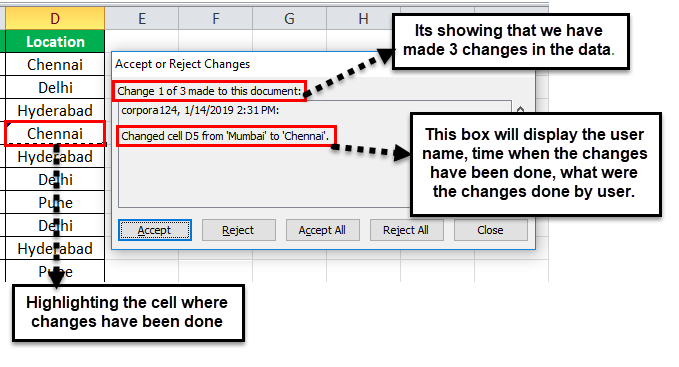
- Step 4: Click the Accept button to accept the changes or the Reject button to reject the changes.
Important Things To Note
- After sharing the workbook, when one or more users edit the same workbook simultaneously, some edits can affect the same cells too.
- If we have left the worksheet untouched for a while, maybe an hour or so, first refresh it or wait till it gets refreshed on its own, so we do not miss the saved changes, or overwrite anything.
Frequently Asked Questions (FAQs)
How to resolve saving Conflicts in an Excel shared workbook?
• When multiple users work on a workbook and make changes at almost the same time, the Excel sheet keeps the changes of the user who saved the workbook first.
• When another user saves the workbook, it will display the Resolve Conflicts dialog box and display all the information about the conflict changes.
• To resolve conflicts, we can select the required options accordingly by clicking on “Accept Mine”, “Accept Other”, etc.
How to stop sharing or remove users with permission to work from Shared Workbooks?
The steps to stop sharing or remove users from Shared Workbooks are,
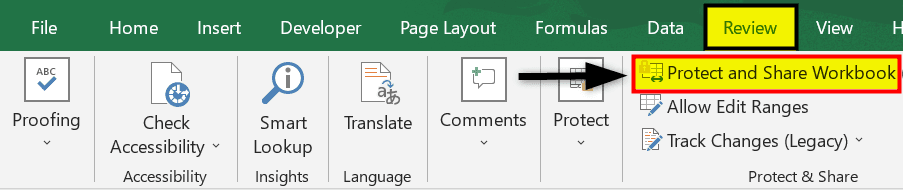
• First, go to the REVIEW tab, and click the “Protect and Share Workbook” option, as shown below.
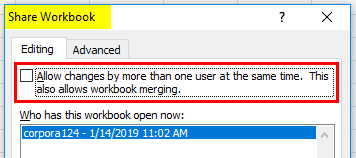
• Now, uncheck the option “Allow changes by more than one user at the same time. This also allows workbook merging”, as shown below.
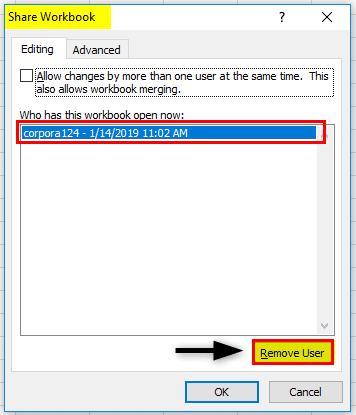
• Finally, select the user we want to remove, click the “Remove User” option, and click “OK”.
What are some limitations of the Excel shared workbook file?
A few limitations of the Excel shared workbook file are,
• Many features of an MS Excel workbook are not fully supported in an excel shared workbooks, such as Sort and Filter, merging cells, conditional formatting, and entering hyperlinks in Excel. We can use those features but would not be able to add or change them.
• Due to multiple users working, refreshing and saving might take time. We may have to enter data more than once, or delete others’ data by mistake, make errors, enter in wrong cells, etc.
How can we protect a shared workbook?
The steps to protect a shares workbook are as follows:
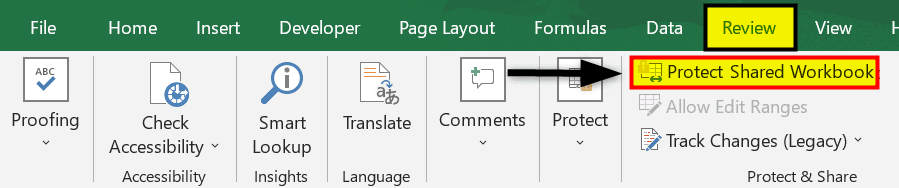
• First, open the share workbook → select the “Review” tab → go to the “Changes” group → click the “Protect Shared Workbook” option, as shown below.
• Next, the “Protect Shared Workbook” dialog box opens. Here, check/Tick the “Sharing with track changes” option checkbox, and click OK, as shown below.
Recommended Articles
Continue with these closely related articles from the same guide.