Part of our Excel Basics guide
Merge Worksheet in Excel
Merging multiple sheets into one worksheet is a tough task, but thankfully we have a feature called “Consolidate” in Excel. Excel 2010 onwards, we can use “Power Query” as a worksheet merger. This article will show you how to merge worksheets into one.
Getting the data in multiple worksheets is common but combining all the worksheet data at once is the job of the person who receives the data in different sheets.
Merger Worksheet Using Consolidate Option
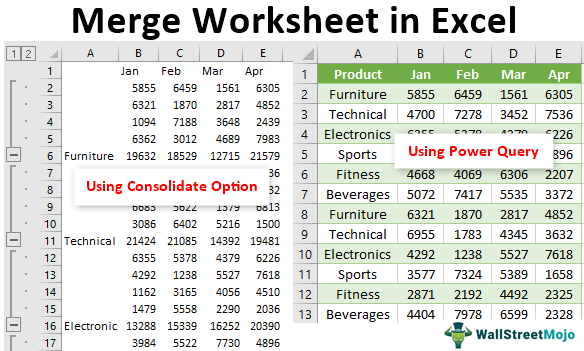
The easiest and quickest way to merge multiple worksheets data into one is by using the in-built feature of excel “Consolidate.” For example, look at the below data in Excel sheets.

The above image has four worksheets comprising four different regions’ product-wise sales numbers across months.
We need to create one single sheet from the four above to show all the summary results. Then, follow the below steps to consolidate worksheets.
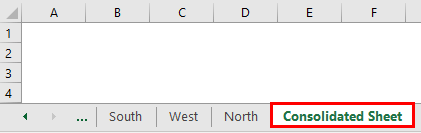
Step 1: We must first create a new worksheet and name it a “Consolidated Sheet.“
Step 2: We must now place a cursor in the first cell of the worksheet.
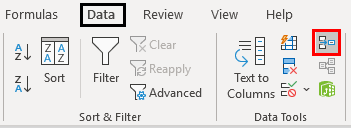
- Then, go to the “Data” tab.
- Click on the “Consolidate” option.
Step 3: As a result, this will open up below the “Consolidate” window.

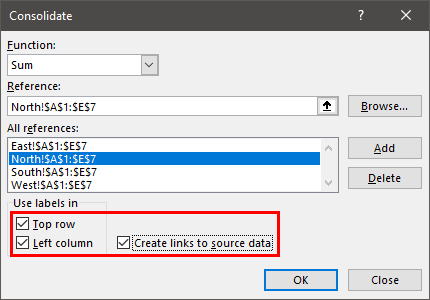
Step 4: Since we are consolidating all the four region data, choose the option of “Sum” under the function drop-down list in excel.

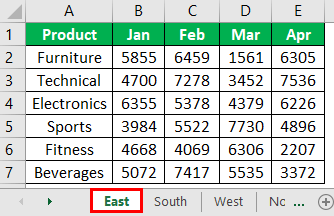
Step 5: Next, we need to choose the reference range from the first sheet to the last sheet. Place the cursor inside the reference box, go to the “East” sheet, and choose the data.

Step 6: Click on the “Add” button to add the first reference area.
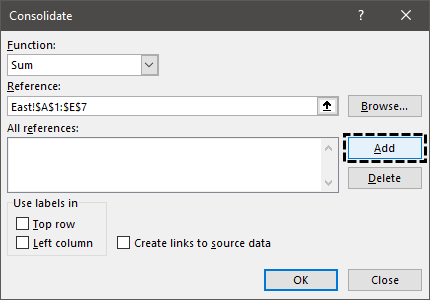
Now, this is added to the reference list.

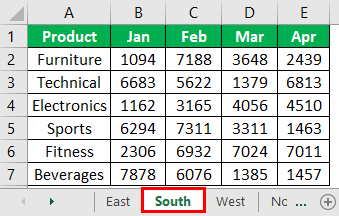
Step 7: Next, we have to go to the “South” sheet, and the reference range would have been selected automatically.
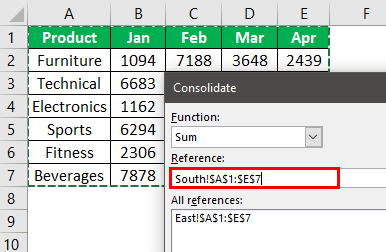
Step 8: Click on “Add” again, and the second sheet reference is added to the list. Like this, we can repeat the same for all the sheets.

Now, we have added all four sheets of references. One more thing, while selecting each selected region range, including the row header and column header of the data table, to bring the same into the consolidated sheet, we must check the boxes of “Top Row” and “Left Column” and “Create links to Source Data.”
Click on “OK.” We will have a summary table like the one below.
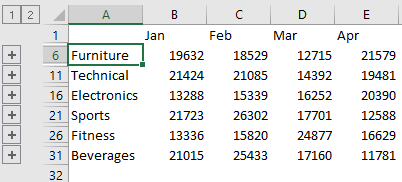
As we can see above, we have two grouped sheets, 1 and 2. If we click on 1, it will show all the region’s consolidated table, and if we click on 2, it will show the breakup of each zone.

It looks fine, but this is not the merging of worksheets. So, merging is combining all the worksheets into one without any calculations; we need to use the “Power Query” option.
Merge Worksheets by Using Power Query
The “Power Query” option is an add-in for Excel 2010 and 2013 versions. It is a built-in feature for Excel 2016 onwards versions.
Follow the steps to merge worksheets using Excel’s “Power Query” option.
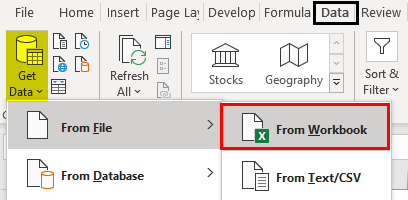
- We must go to the “Data” tab. Then, from the “Get Data,” select “From File,” “From Workbook.”

- Then, we must select the sheet and then transform it into a Power Query Editor.
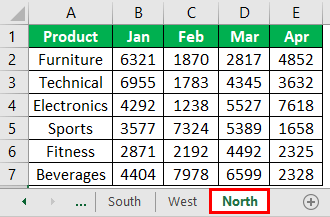
We need to convert all the data tables into Excel tables. We have converted each data table into an Excel table and named East, South, West, and North by their region names.
- First, we must go to any of the sheets. Then, under the “Power Query,” click on “Append Queries.”

- Now, this will open up the “Append” window.

- Here, we need to merge more than one table, so we must choose the “Three or more tables” option.

- Then, select the table “East 1 (Current)” and click on the “Add” button.
For other region tables, we need to repeat the same steps.

- After this, click on “OK,” and it will open the “Power Query Editor” window.

- Finally, we must click on the “Close and Load” option.
Consequently, this will merge all the sheets into one in a new worksheet of the same workbook.


Things to Remember
- The Power Query in excel is available for Excel 2010 and 2013 versions as an “Add-in.” From Excel 2016 onwards, this is a built-in tab.
- We can use the “Consolidate” option to consolidate different worksheets into one sheet based on arithmetic calculations.
- We need to convert the data into excel table format for the “Power Query” merge.
Recommended Articles
This article has been a guide to Excel Worksheet Merge. Here, we discuss merging worksheets into one using the “Consolidate” and “Power Query” options and practical examples. You may learn more about Excel from the following articles: –