Part of our VBA Functions guide
Excel VBA User Defined Function (UDF)
Microsoft offers us many built-in functions to speed up the work in Excel. However, we can create our functions using VBA coding, which is technically called “User-Defined Functions” (UDF). They are also called “custom functions” in Excel VBA.
Any formula we can access from the worksheet with a piece of code is called UDF. In simple terms, any formula not built-in but available in Excel is called “User Defined Functions.”
How to Create User-Defined Functions?
Even though UDF is part of our module, they are not part of our regular Subroutine in VBA. It is called a Function procedure in VBA. Like how we start the macro coding with the word SUB similarly, we need to start this by using the word “Function.” Sub procedure has a start and End. Similarly, the Function procedure has “Start” and “End.”
Now before you proceed to the examples related to the creation of Excel VBA user defined functions, it is recommended that you check how event automation in Excel is done using VBA. This Excel Events Automation Using Advanced VBA Functions Course will give you an idea regarding the implementation part, making it easier for you to work out the below-mentioned examples.
Example #1 – Create a Simple UDF Sum Function
We will create our SUM function in excel by adding up two numbers.
- To start the coding, start the word “Function” in one of the modules.
- Like how we name the macro similarly, we need to give a name to our Function. We have used the name as a formula name.
Unlike subroutine, we cannot simply press the “Enter” key to create a procedure. But, we need to mention arguments here.
For example, look at the below syntax of the worksheet function SUM.
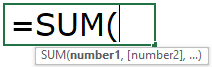
Number 1 and Number 2 are arguments of the function SUM.
- Similarly, we need to mention our arguments.
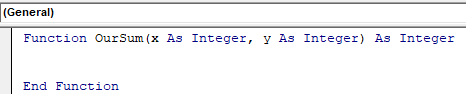
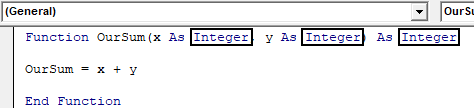
Here, we have declared the arguments “x as Integer” and “y as Integer.” Since we add numerical value, we only need to assign the data type as a numerical data type.
After declaring the arguments, we have assigned the return type of the integer too because the result given by the Function “OurSum” is also a numerical value.
- Now, inside the function, we need to mention the formula we will use. Here, we need to use the function to start with.

We mentioned the formula name “OurSum” should add x and y.
- Save the code and go to the worksheet.
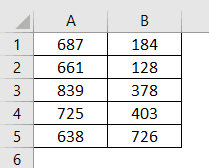
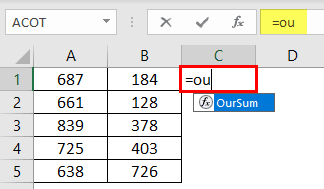
- We have entered a few numbers here. Open the equal sign and start typing “OurSum.” We can see the formula name appearing here.
- Like how we select cells, similarly, select two cells separately.
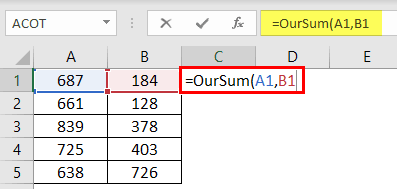
- After selecting two cells, press the “Enter” key for results.
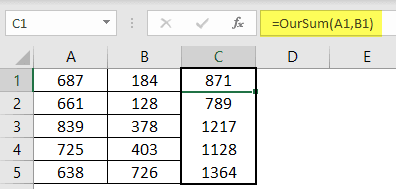
So, it works the same as our regular SUM function.
- Now, we will change the numbers.
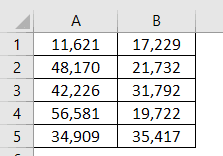
- Now again, we will apply the function we have created.
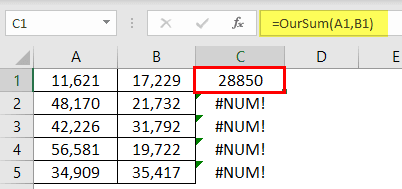
We got error values except for the first cell.
You must be thinking about why we got an error.
If you observe cells A2 and B2, we have values of 48,170 and 21,732. Since we have assigned the data type as “Integer,” it cannot hold any number more than 32,767. It is the reason we got the Excel error as #NUM!.
Now, we will add numbers that are less than 32,767.
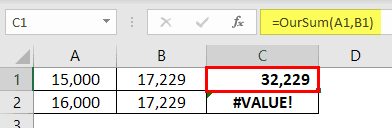
In the above image, all the numbers are integers, i.e., less than 32,767.
In the first cell, we got the results. But in the second C2 cell, we got the error value as #VALUE!.
Even though both the numbers are less than 32,767, we still got the error.
It happened because we have declared the result also as “Integer.”
So, when we add 16,000 and 17,229, we will get a value like 33229, which is more than the integer data type limit of 32,767. So, the “End” result is an error value.
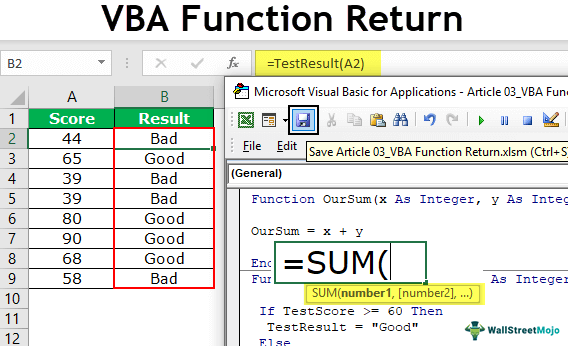
Example #2 – Create a Function to Test Logical Values
We will create one more function to test the logical values. We need a function that returns “Good” if the number is >=60, and we need the result as “Bad” if the number is <=50.
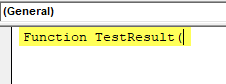
Step 1: Start the Function procedure and give a name to the procedure.
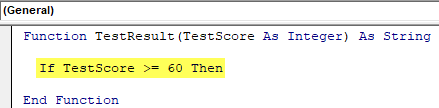
Step 2: Give the argument as “TestScore as Integer.”

Step 3: Our “End” result should be either “Good” or “Bad,” so the result should be in the string.

Step 4: First, we need to test whether the score is >=60. Use IF condition to test.
Step 5: If the test score is >=60, we need the function to return the result as “Good.” So TestResult = “Good.”
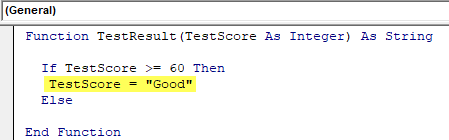
Step 6: If the test score is less than 60, the function result should be “Bad.”
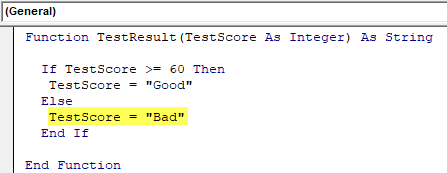
We have finished everything now.
- Save the code and go to the worksheet.
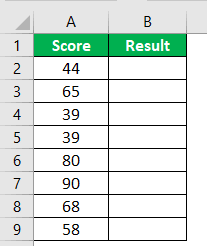
We have entered a few numbers here as a test score.
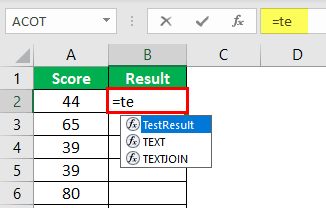
- Apply the function we have created to arrive at results.
- Select the cell and press the “Enter” key.
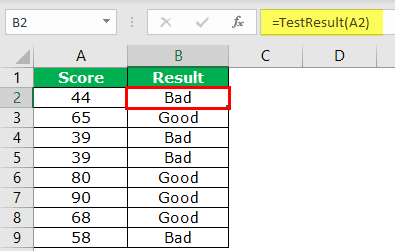
This is what UDF is all about.
Recommended Articles
This article is a guide to User Defined Function in VBA. Here, we learn how to create a user-defined function (UDF) in VBA along with examples and a downloadable Excel template. Below are some useful Excel articles related to VBA: –