What Is Print In Excel?
Print in Excel is simple as printing a sheet or a piece of data. While we can print the entire worksheet in one print, we also have options to print only a certain amount or part of data or a certain table.
Printing Excel worksheet data is impossible or difficult, as it is unlike how we may print with an MS Word document, where we can get the entire data in a single printout. Therefore, we use the part printing options available in Excel.
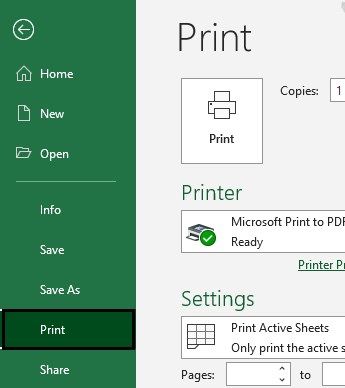
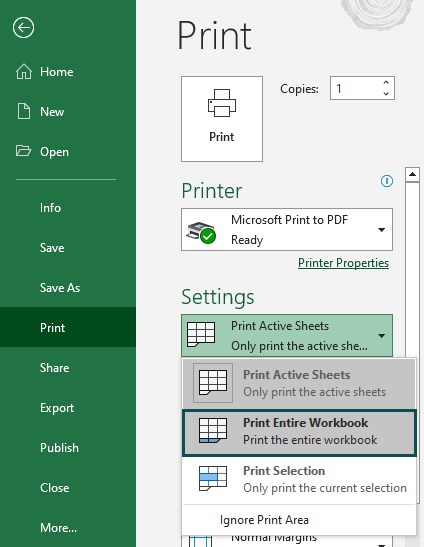
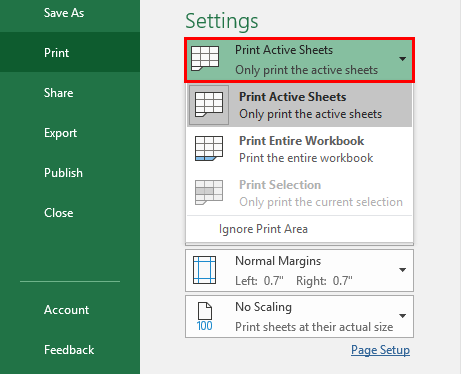
For example, we have different print options available in the “Print” option in the “File” section, such as Print Active Sheets, Print Entire Workbook, or Print Selection, as shown below.
Key Takeaways
- Print in Excel gives us an idea of the ways we can print the data from the worksheet in Excel, whether we want to print the entire worksheet, only a selected part of the worksheet, a dataset, or a cell range.
- We can open the Print option using the common way, i.e., “File – Print”, or using the shortcut keys “Ctrl+P”.
- There are many features available to take a printout, such as orientation, adding headers & footers, number of printouts, selected print area, locking the print area, etc., to name a few. More important is to configure the printer in the first place to access these features.
How To Print In Excel?
Printing is one of the most common tasks performed in Excel, where we can print a specific selection on a worksheet, a print area (one or more range of cells), or a range of data.
We can Print in Excel using the following path,
- First, select the cell range to be printed, else we can select in the next step.
- Click the “File” tab.
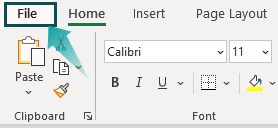
The File tab list appears, there, click the “Print” option.

On the right, in the “Settings” option drop-down, select the required option to get a printout from the configured printer.
Top 12 Useful Tips To Consider Before Taking A Print In Excel
- Check Whether the Printer is Connected or Not.
- How to Connect & Add a Printer?
- Printing a Worksheet Either in Landscape or Portrait Orientation.
- Setting a Print area.
- Page Breaks in a Worksheet.
- Page Layout & Print Preview.
- Number of Spreadsheet Report Copies.
- Collate the Pages of Each Copy (Either collated or Uncollated).
- Change the Paper Size Based on our Requirement.
- Change the Page Margins from the Default Normal Margins to Either Wide or Narrow.
- Scaling options.
- Addition of Headers and Footers in a Worksheet.
- Print resolution or Print quality for a worksheet.
Let us consider each tip on how to print with multiple options and criteria.
#1 – Check Whether the Printer is Connected or Not
Once the printer is installed, ensure it is connected to the computer. Then, we can join or add a printer in Excel using the “File” and “Print” options.
#How to Connect & Add a printer?
- First, in an Excel workbook, click the “File” > “Print” option.
- Next, when the printer dropdown menu appears, click “Add Printer.”
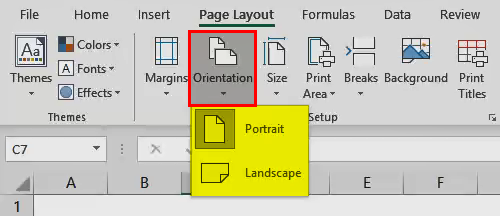
#2 – Printing a Worksheet Either in Landscape or Portrait Orientation
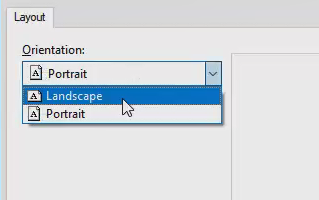
By default, print worksheets in portrait orientation (also called taller than wide). However, it has options for us, where we can change the page orientation to landscape mode based on a worksheet-by-worksheet basis to improve the outlook.
The below-mentioned steps can do it. However, initially, we must select the worksheet or worksheets for which we want to change the orientation.
We can apply page orientation to multiple or adjacent sheets by clicking the tab for the first sheet. Then, hold down the “Shift” key while we click the tab for the last sheet or other sheets we want to select.
#3 – Setting a Print area
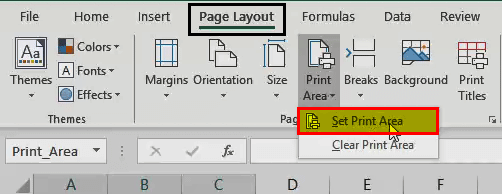
Set a print area to define or develop a print area for selected data. The “Print Area” option allows us to choose specific cells on a worksheet that can be printed off separately from the rest of the page based on the selection.
The print area can be done by the procedure below, open an Excel worksheet containing data, and highlight the cells we want to take a printout. Next, click the “Print Area” option on the “Page Layout” tab. Then, in the “Page Setup” section, select “Set Print Area.”
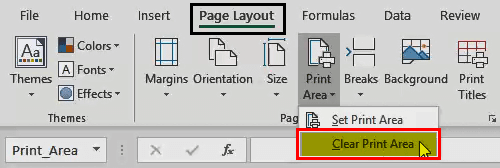
It will save the print area once we save the workbook. Now, whenever we want to take a printout of that worksheet, it will consider only printing the data defined in the print area. Therefore, it is better to clear the print area once we have taken the printout. The below-mentioned steps can do the print area: go to the “Page Layout” tab – “Print Area” > “Clear Print Area.”
#4 – Page Breaks in a Worksheet
If the document will print over or contains multiple pages, we can control its layout by adding page breaks or deleting page breaks in a worksheet.
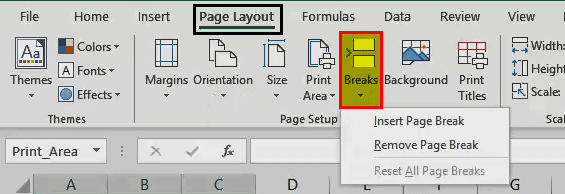
Usually, by default, Excel inserts automatic page breaks based on the paper size, scale options, margin settings, and the positions of any manual page breaks we insert.
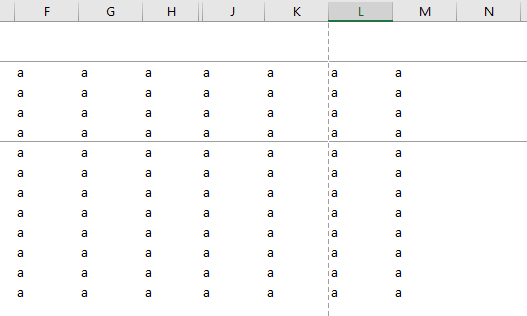
We can adjust the page breaks to print out an exact number of pages.
In “Page Break Preview”, by default, dashed lines are page breaks that are automatically added. At the same time, solid lines are page breaks that are added manually.
#5 – Page Layout & Print Preview
We have the option to print with or without gridlines in the printed data.
Under the “Page Layout” tab, in the “Gridlines” heading of the “Sheet” options, ensure to select the checkbox of “Print.”

Now, when we take a printout of our document, we may get lines between the cells.
Under the “Page Layout” tab, under the heading of “Sheet” options, if we want row numbers and column alphabet to appear, we can select the checkbox of “Print.” Then, when we take a printout of our document, it will appear in the top and left corners.

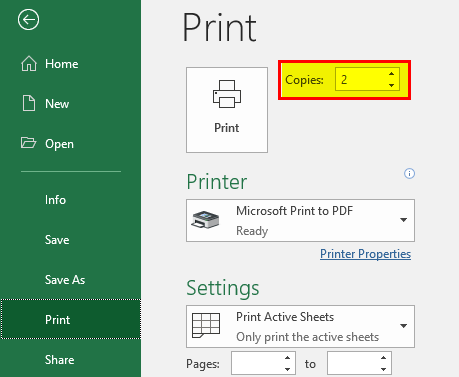
#6 – Number of Spreadsheet Report Copies
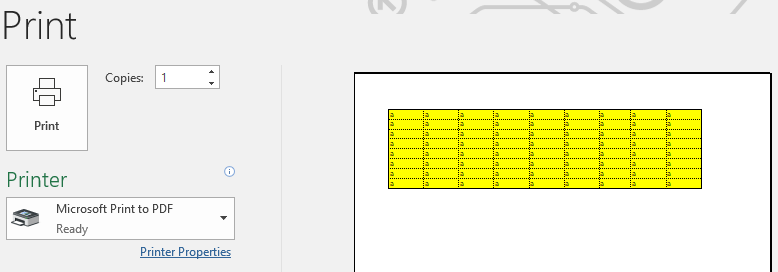
Suppose, if we want to take a printout, “1” copy by default appears. We can make multiple copies by clicking the arrows next to the copies box. We can take a printout on both sides of the paper or a single side based on our printer.
#7 – Collate the Pages of Each Copy (Either collated or Uncollated)

If Excel contains multiple pages, we can switch between the “Collated” and “Uncollated” options.
For example, if we want to take a printout of 3 copies, “Collated” may print the entire first copy, then the whole second copy, and the later third one, etc. In comparison, “Uncollated” prints three copies of page 1, three copies of page 2, and later three copies of page 3.
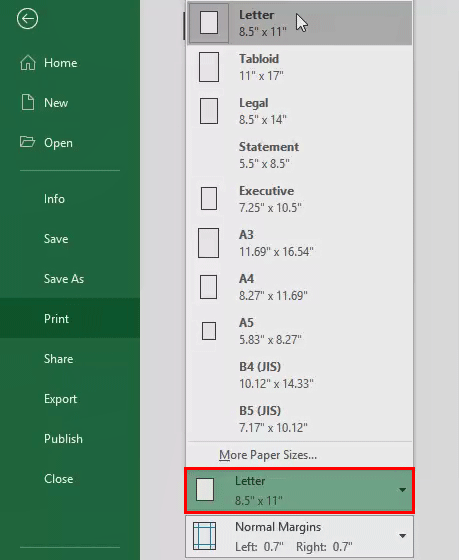
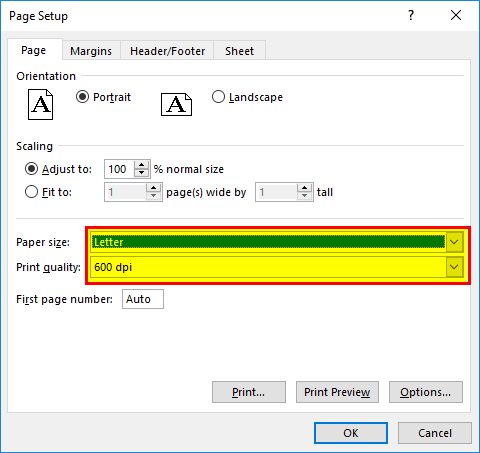
#8 – Change the Paper Size Based on our Requirement
#9 – Change the Page Margins from the Default Normal Margins to Either Wide or Narrow

#10 – Scaling options
Suppose we miss out last rows or columns on a single page, then we can consider “Width,” “Height,” and “Scale” options in the “Print” options or the “Scale to Fit” group in the “Page Layout” tab to change these settings.

#11 – Addition of Headers and Footers in a Worksheet
Consider row or column headers on top of every page or not (a header appears at the top of every printed page, whereas a footer appears at the bottom of every printed page).
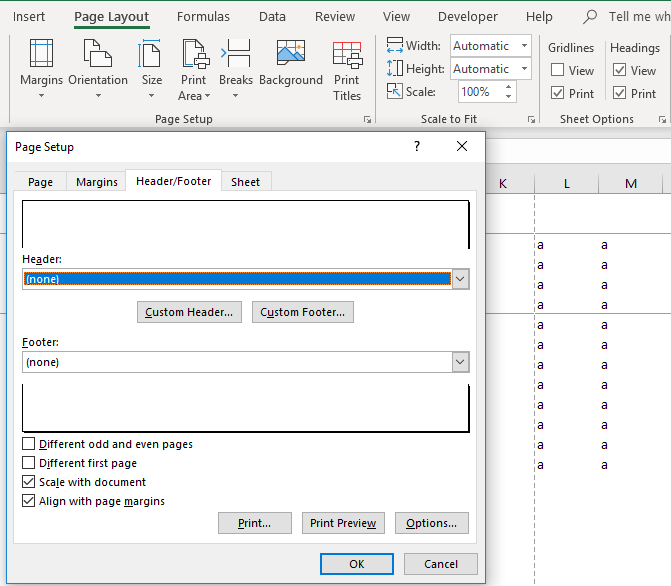
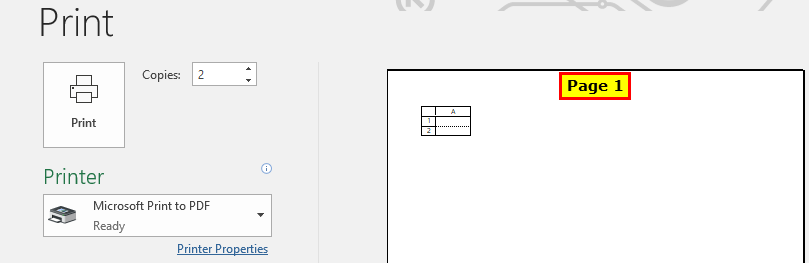
Here, we have selected Page 1 as a header. Under the “Header” option of “Page Setup,” we can observe at the top of the page when we check the print preview in excel. We can customize it based on the choice.
Similarly, under the “Footer” option of “Page Setup,” we have selected “www.wallstreetmojo.com”
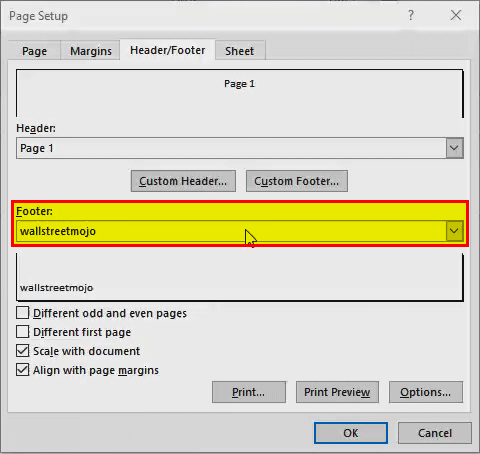
We can observe it at the bottom of the page when we check the print preview. We can customize it based on the choice.

#12 – Print resolution or Print quality for a worksheet.
It depends on the type of printer we use. However, it will appear in the “Print quality” option under the “Page Setup” window.
Important Things To Note
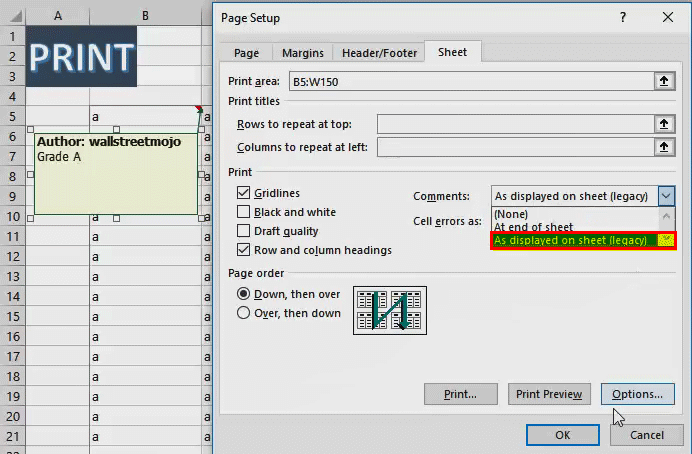
- In Excel, we can also take a print of Excel comments. For that, we must select “As displayed on sheet” under the “Comments” section of the sheet in the page setup.
- Later we can check the “Print Preview” Excel option, where the comment section appears at the specific cell.
- Various print-out options
We can take a printout of an entire worksheet or workbook or make a selection.
Frequently Asked Questions
1. Is there an alternate way to Print in Excel?
The alternate way to Print in Excel is using the shortcut keys “Ctrl+P”. Once we select the shortcut, the Print option opens, and the rest is the same as we learnt.
2. How to Lock the set print area in Print In Excel?
We can lock the set print area as follows:
• First, select the area you want to print, a cell range, or a dataset.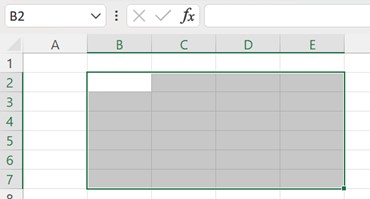
• Next, select the “Page Layout” tab – go to the “Page Setup” group – click the “Print Area” option drop-down – select the “Set Print Area” option, as shown below.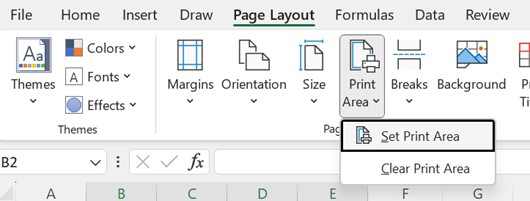
• Finally, we can see the selected cells locked, and ready to print, as shown below.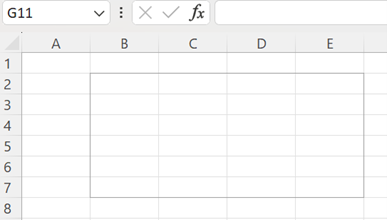
3. What are the limitations of Print in Excel?
A few limitations of Print in Excel are,
• In large data, when there is a possibility that the printout becomes unreadable, we do not get a warning message from Excel, which results in paper waste.
• Viewing the printing data from the Preview Pane is challenging if we have to adjust the margins.
• If the printout of the worksheet or a table is taken without the gridlines, it is hard to tell apart the cell boundaries.
Recommended Articles
This article is a guide to Print in Excel. Here we learn 12 features in printing, how to connect or configure a printer, examples, downloadable excel template. You may learn more about excel from the following articles –