What Is Insert Button In Excel?
The Insert Button in Excel is a feature used in macros and VBA to insert asingle-click command button to perform a certain task for us. It helps us assign a Macro code to the Form Control button, so we can run the code with just a click on the button.
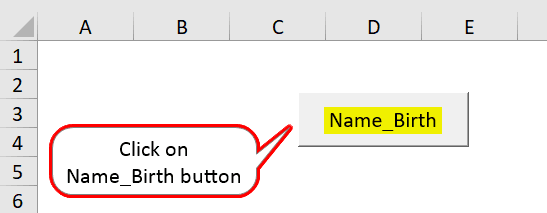
For example, we will create a Macro on Name and Date of Birth, and assign a button as “Name_Birth” to run the Macro Code, as shown below.

It is an interactive button, as per the created Macro Code. Whenever we click the button, the Macro Code executes. Let us understand in detail in the article.
Key Takeaways
- The Insert Button in Excel helps users add interactive buttons in the Excel sheets using the Developer tab.
- While inserting a button in Excel, we must always remember to make the control option accessible so that everyone can understand the same and find the information.
- We can only add one checkbox button at a time. Once we add the first control, “Copy” and “Paste” the control option to the rest of the cells and assign Macros to each of the controls.
- While adding a button, always ensure that the text and the button’s size should be almost the same. Also, do not use the thick line for the box because we will not be able to see what is shown on the button.
How To Insert Button In Excel?
The Excel Insert Button is inserted as follows:
- We can insert it by enabling the “Developer” tab.
- In the “Insert” form controls in excel, we can find button options to insert.
- Then, we can draw the button on the worksheet.
Normally, the button is in the “Design Mode”, but we can remove it after coding and use it. While using the “Insert” option, first, we need to insert the “Developer” option in the Excel ribbon.
Steps To Insert Developer Option In Excel Ribbon
The steps to Insert Developer Option in Excel Ribbon are as follows:
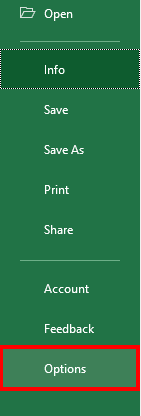
- Step #1 – We must first go to the “File” tab, and click on the “Options” at the bottom of the file option, as shown below.
- Step #2 – When we click on “Options,” it enables one dialog box and goes to “Customize Ribbon in excel:

- Step #3 – Now, we can see so many options under the “Customize Ribbon” tab. Click on the checkbox adjacent to the “Developer,” enabling the “Developer” option in the Excel ribbon:

- Step #4 – Check/Tick the developer option, and click OK to confirm the same:

- Step#5 – Now we will see the developer tab in you excel ribbon option as shown below:

How To Make Use Of Insert Button Option In Excel?
The Excel “Insert” button is used to add the control in the documents.
E.g., checkbox, scroll button, etc.
Below are the steps for using theInsert Button Option in Excel–
- We must select the data first and organize the data as per the requirement.

- Then, go to the “Developer” tab, and select the “Insert” option under the tab.

- Click on the “Insert” and see what option is required in your data.

- Now, click on the “Check Box” option. It enables us to create the checkbox in the sheet wherever required.

- Next, click on the cell in the data where we want to insert the checkbox. The “Check Box (Form Control)” will appear nearby only to that place. If we need, we can adjust the box as per the requirement.

- If we want to remove or edit the text on “Check Box 1,” which we created, right-click on the checkbox, select the text, and delete it or edit it as per the requirement. We can do one alternative: right-click the checkbox and select “Edit.”

- Copy all the columns’ check-in by dragging the cell B1 checkbox to rest of the cells or press “Ctrl+D” to paste the same.

- We can see that the same checkbox is shown in all the cells.

- Now, we can easily use the checkbox by clicking on it, whether we have done the task.

- If we want to delete the checkbox option from the worksheet, press the right-click, choose the cell, and press the “Delete” key.


How To Add More Controls In Excel?
The steps to Add More Controls in Excel are as follows:
- Step#1 – If you want to add more control in the insert tab, click on to more control option:

- Step#2 – When we click on more control, it opens the dialogue box, as shown below:

- Step#3 – Click on the control we want to add, and click OK. It will automatically show in the insert button excel tab.

How To Format The Control Function In Your Excel Sheet?
The steps to format the Control Function in your Excel Sheet are as follows:
- Step#1 – Select the control option which we have inserted in your Excel sheet:

- Step#2 – Click right, and go to “Format Controls…”.

- Step#3 – Once we click “Format Control”, it opens one dialog box, as shown below.

- Step#4 – Go to “Color” and “Line” to choose the color and line of the box.

- Step#5 – Click OK, we will get the color in the control option:

From the “Format” option, we can format the color and lines, size of the control, and protection of control (locked or lock the text) so that no one can change the option, object positioning, Alt Text, and control.
Important Things To Note
- While inserting a button in Excel, we must always check which option is required in the data.
- Always ensure that the inserted button is in an easily readable size.
- We must always check to enable the “Developer” tab if it is allowed to insert a button in Excel.
- We cannot adjust the size of the options button inside the control and its separation from its related content.
- Do not oversize the control option while inserting a button in Excel.
Frequently Asked Questions (FAQs)
What is Macro used from the Developer Tab in Excel?
Macro is a piece of code written in Excel to perform repeated tasks.We can automate repetitive and complex tasks to save time and manual work by assigning an interactive Form Control button. We can also record the Macro and run it as per our requirements.
Why is the Insert Button In Excel not working?
A few reasons the Insert Button may not work are as follows:
• In Excel, the Developer tab is not enabled by default, so we are unable to view the “Form Control” buttons. So, once we enable it from the Excel Options window, we can view the Developer tab on the ribbon for further use.
• In Excel, the Macro Assigned to the Form Control button may be corrupted or deleted, causing the button to be inactive. In such scenarios, we must reassign the button a valid Macro Code for it to work.
How do you Add the Macro button to the Excel ribbon?
The steps to add the Macro button to the Excel Ribbon are as follows:
• Step#1 – Go to the “File” tab.

• Step#2 – Click the “More…” option from the list à select the “Options”.
• Step#3 – The “Excel Options” window pops up.
৹ First, click the “Quick Access Toolbar” on the left side of the “Excel Options” window.
৹ Next, select the “Macros” option from the “Choose commands from:” drop-down.
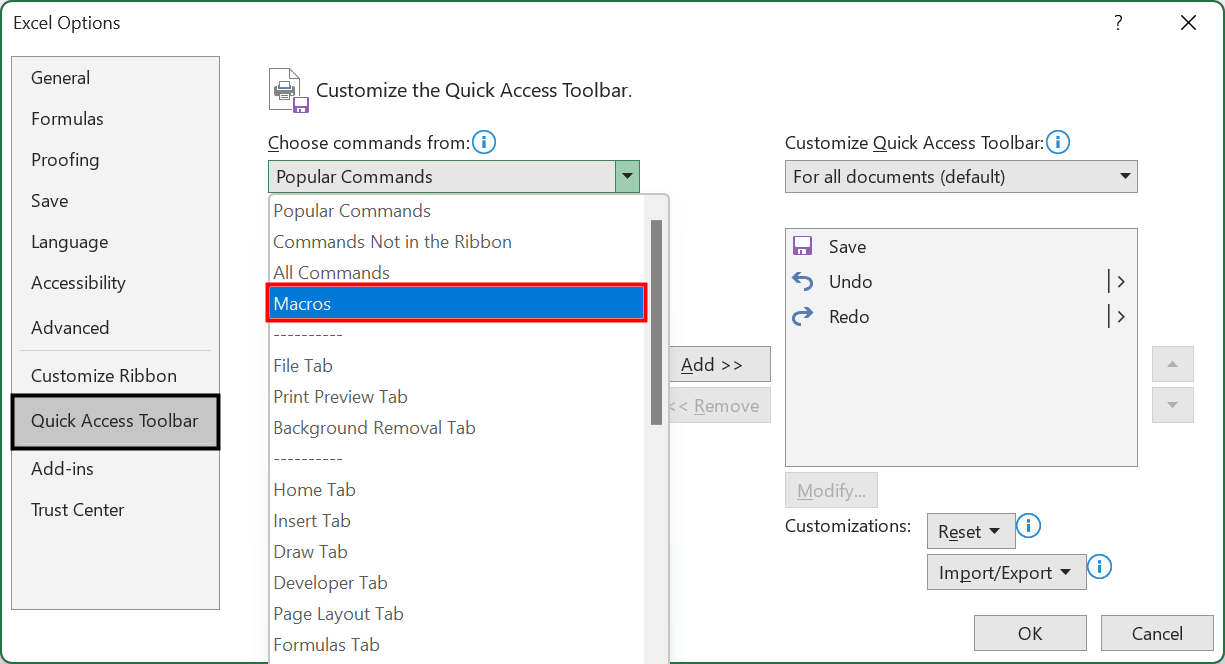
Immediately, the list of created and saved Macro files appears in the section below the “Choose commands from:” drop-down. We can select the required Macro Code, and click “OK”.
Finally, we can see the Macro button added to the Excel Ribbon. We can use that button to run the Macro too.
Recommended Articles
This article is a guide to Insert Button in Excel. Here we add interactive buttons from Form Control, format them, QAT, examples & downloadable excel template. You may learn more about Excel from the following articles: –