What Is Insert A Picture/Image In Excel Cell?
Excel is not just about data. We know with formulas and functions, we can arrange, create and find desirable dataset with just a few steps. But, we can also insert a picture or image in Excel cell.

In this article, let us learn how to insert a picture or image in Excel cell with detailed examples.
Key Takeaways
- Two methods are available to us to insert images into an Excel cell. First, we can choose to insert all images at once, or we can insert each image individually.
- It is recommended that we insert images one by one to ensure correct matching with the corresponding cell. This can be accomplished by selecting the desired image and clicking on the “Insert” button.
- One must adjust the image to match or modify the movement of the cell.
- One must create a master sheet with consolidated data. Use “ALT” to adjust images to fit cells for the dashboard.
How To Insert A Picture/Image In Excel Cell?
Inserting a picture or an image into an Excel cell is easy. Let us learn the steps to insert a picture or image in Excel cell with the following examples.
Examples
Example #1 – Create An Excel Dashboard With Images
We can create a dashboard using these pictures. Follow the below steps to create an Excel dashboard.
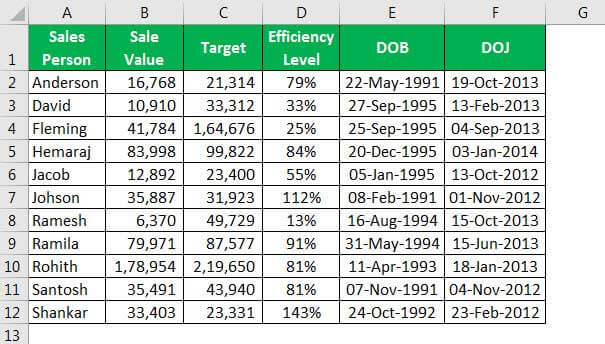
We have created a master sheet that contains all the details of the employees.
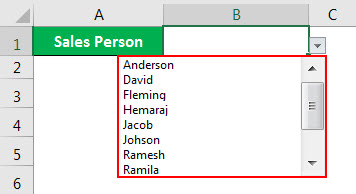
- Step 1: The sheet creates a dropdown list of employee lists in the dashboard.
- Step 2: We must apply VLOOKUP to get the “Sales Value,” “Target,” “Efficiency Level,” “DOB,” and “DOJ” from the “Employee Details” sheet.
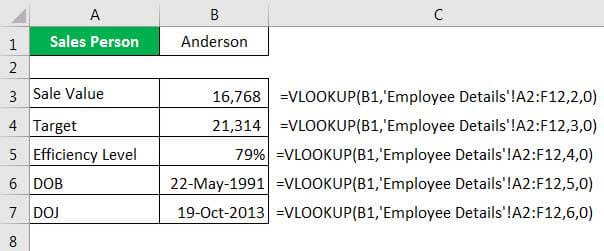
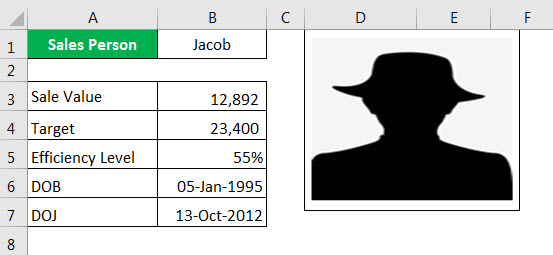
The values will be automatically updated as you change the name from the drop-down.
- Step 3: The big part is getting the employee’s photo selected from the drop-down. For this, we need to create a “Name Manager.”
Go to “FORMULAS” > “Define Name” in Excel.

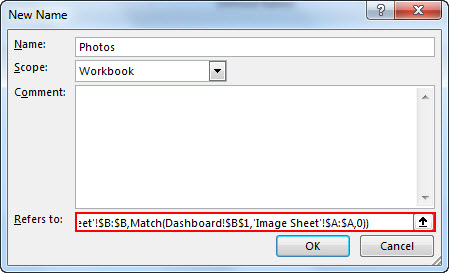
- Step 4: Give a name to the “Name Manager.”
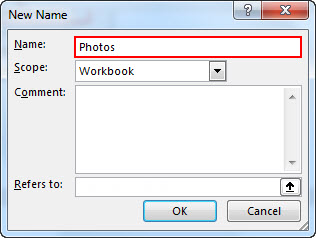
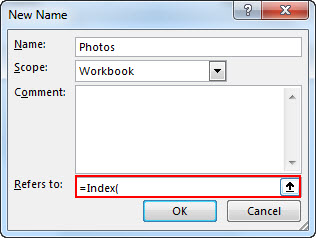
- Step 5: In “Refers to” type “equal (=) sign” and enter the INDEX formula.
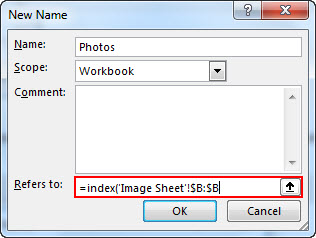
- Step 6: The first argument of the INDEX function is to select the whole B column in the “Image Sheet.”
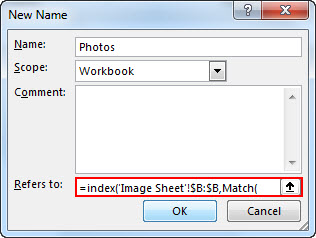
- Step 7: Now, enter comma (,) and open one more MATCH function.
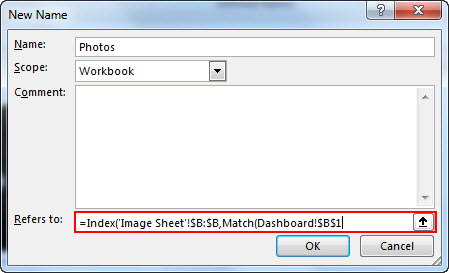
- Step 8: We must select the first argument as “Employee Name” in the “Dashboard” Sheet. (dropdown cell).
- Step 9: Next argument, select the entire first column in “Image Sheet,” enter “zero” as the next argument, and close two brackets.
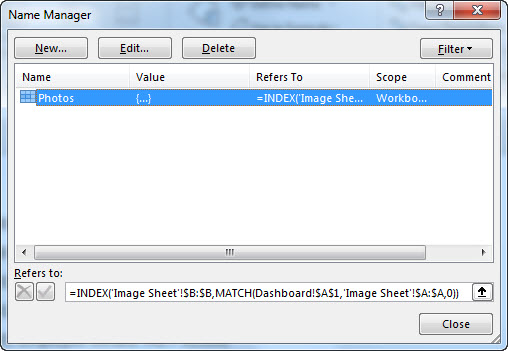
- Step 10: Click on “OK.” Now, we have created a name manager for our photos.
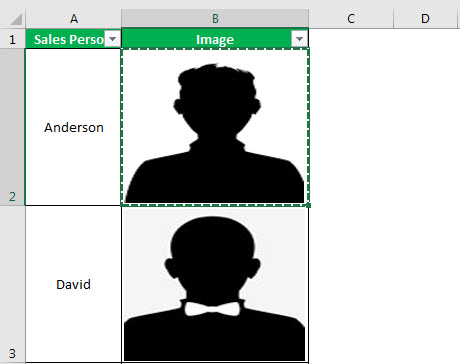
- Step 11: Now go to the “Image” sheet and copy cell B2.
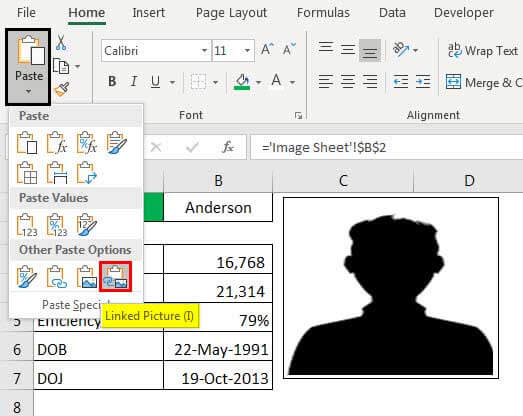
- Step 12: Now go to the “Dashboard” Sheet and paste it as “Linked Picture.”
- Step 13: Now, we have an image. We must select the image in the formula and change the link to our Name Manager’s name, Photos.
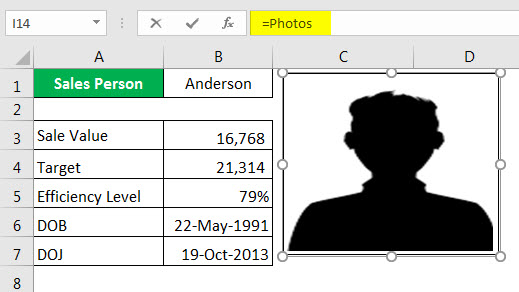
- Step 14: Press the “Enter” key to complete the process. We can change the image. It may vary according to the name we have selected.
Example #2 – Change Image Size According To Cell Size In Excel
Now, we need to fit these images to the cell size. Whenever the cell width or height changes, the picture also should change accordingly.
- Step 1: First, we must select one image and press “Ctrl + A.” It will choose all the images in the active worksheet. (Make sure all the images are selected).
- Step 2: Now, press “Ctrl + 1.”It will open up the “Format” option on the right-hand side of the screen. Note: We are using Excel 2016 version.
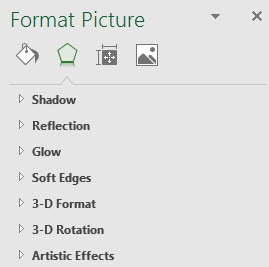
- Step 3: Under “Format Picture,” select “Size & Properties.”
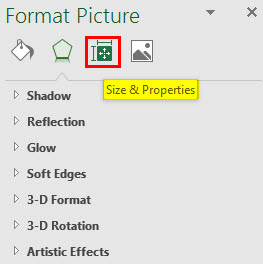
- Step 4: Click on “Properties” and select the option “Move and size with cells.”
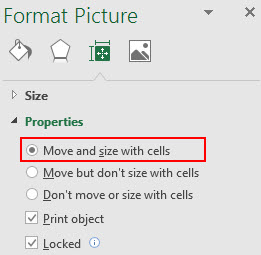
- Step 5: We have locked the images to their respective cell sizes. It is dynamic now. As the cell changes, images are also kept changing.
Example #3
Consider the below example.
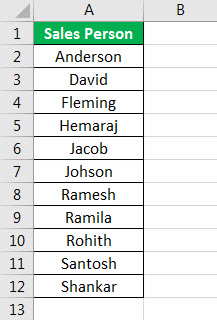
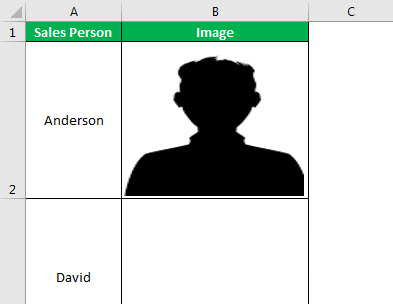
We have sales employees’ names in the Excel file. Below is the list.

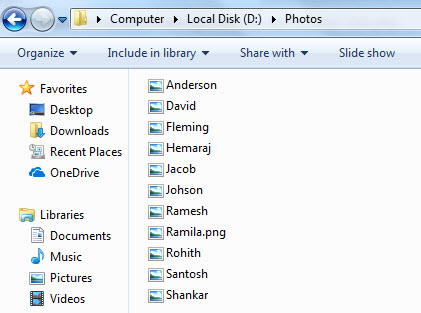
We have their images on the computer hard disk.

We want to bring the image against each person’s name, respectively.
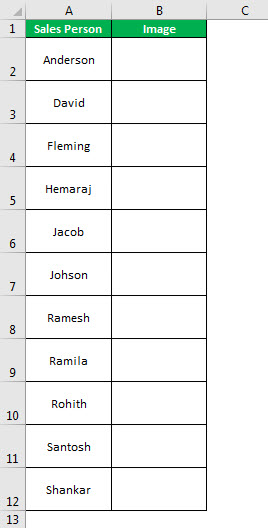
Note: All the images are dummy. We can download them from Google directly.We must copy the above list of names and paste it into Excel. Make the row height as 36 and column width in Excel 14.3.

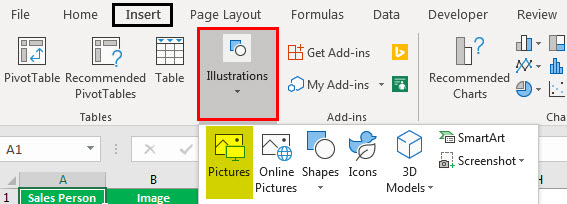
Go to the “Insert” tab and click on “Pictures.”

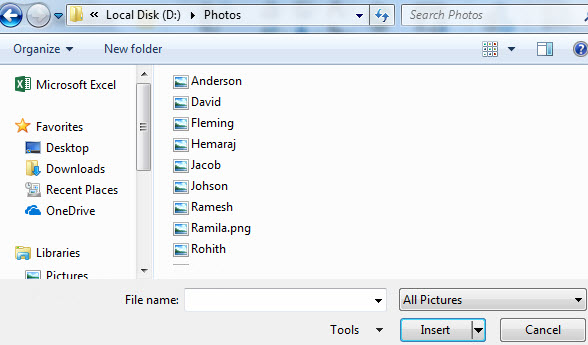
Once we click on “Pictures,” it asks us to choose the picture folder location from the computer. So, we must select the location and the pictures we want to insert.

We can insert a picture one by one in an Excel cell, or we can insert it in one shot. To insert at one go, we need to be sure which represents who. So, we are going to insert them one by one. Select the image we want to insert and click on “Insert.” Similarly, just as images enhance the presentation of data in Excel, Cheap Canvas Wall Art Picture Prints can be a great way to add visual appeal to any space effortlessly.

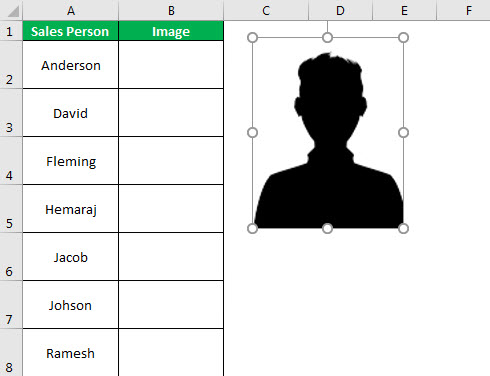
Now, we can see the image in our Excel file.

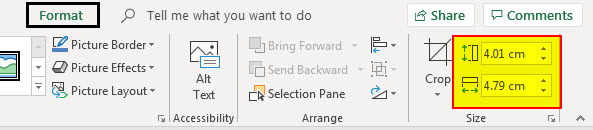
This picture is not yet ready to use. We need to resize this. We must select the picture and resize it using the drag and drop option in Excel from the corner edges of the image, or we can resize the height and width under the “Format” tab.
Note: Modify the row height as 118 and column width as 26.
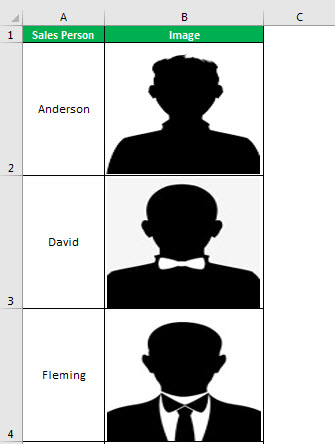
To fit the picture to the cell size, we must hold the “ALT” key and drag the picture corners. After that, it will automatically fit the cell size.

Like this, we must repeat this task for all the employees.


Important Things To Note
- We must make the image adjustment that fits or changes the cell movement.
- Create a master sheet containing all the consolidated data to create a dashboard.
- We must use the “ALT” key to adjust the image to the extreme corners of the cell.
Frequently Asked Questions (FAQs)
How do you insert an image in an Excel cell with text?
The IMAGE function allows you to add pictures to your spreadsheet by using a web source location. You can also add alternative text to the picture. To use this function, simply enter “=IMAGE(source, , , , )” into a cell. The “source” parameter is required and should contain the URL path of the picture file using an “https” protocol.
How do I insert a picture into a cell in Excel 2023?
To insert an image into a specific cell, first select the target cell. Next, navigate to the “Insert” tab and select “Pictures” from the available options. Then, choose “Place in Cell” and select the desired source for the image. By following these steps, you will be able to seamlessly add images to your presentation or document professionally and effectively.
How do I insert a picture into an Excel cell without moving it?
To lock an image or picture within a cell, perform the following steps:
- Right-click on the image or picture to open the drop-down menu.
- From the drop-down menu, select the “Size & Properties” option.
- Opt for “Move and size with cells” to ensure that the image or picture is secured within the cell and will only move within the cell
By following these steps, the image or picture will be locked within the cell and remain in place as the cell is moved. This feature is handy when creating tables with images or pictures.
Recommended Articles
This article is a guide to Insert a Picture/Image in Excel Cell. We discussed inserting a picture or an image into a cell in Excel and creating a dashboard with images in Excel, an example, and a downloadable Excel sheet. You can learn more about Excel from the following articles: –