Part of our Text Functions in Excel guide
Excel Text to Columns
Text to columns in Excel is a method that is used to separate a text into different columns based on some delimited or any fixed width. There are two options to use text to columns in Excel. One is using a delimiter where we provide a delimiter as an input such as comma space or hyphen, or we can use a fixed defined width to separate a text in the adjacent columns.
Where to Find Text to Columns Option in Excel?
To access text to columns in Excel, go to the Data tab, then Data Tools and Text to Columns.
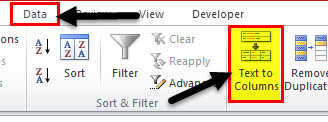
The keyboard shortcut to open text to columns is – ALT + A + E.
How to Split Text to Columns in Excel? (with Examples)
Examples #1: Split First Name and Last Name
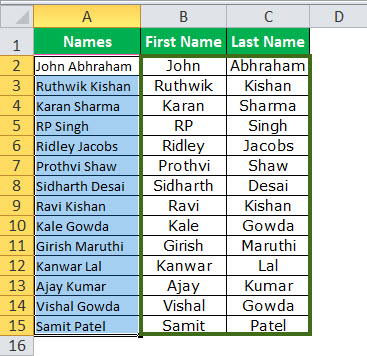
Assume you have a list of names that includes both first and last names in a single column.
Now, you need to split the first name and last name separately.
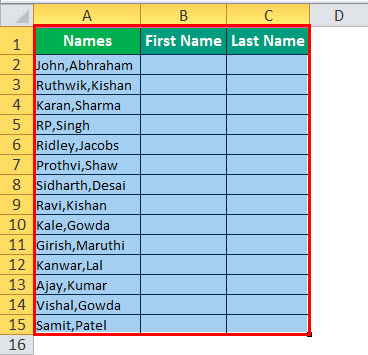
We need to split the first and last names and get these in separate cells.
Below are the steps for splitting first name and last name into separate cells:
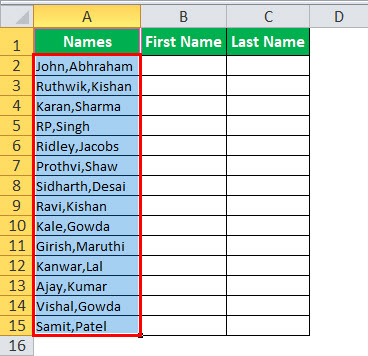
- Select the data.

- Then, press “ALT + A +E.” It will open the “Convert Text to Columns Wizard.”

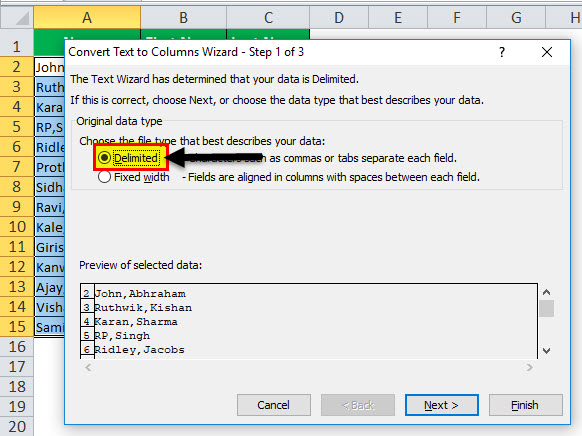
- Now, make sure “Delimited” is selected and click on “Next.”
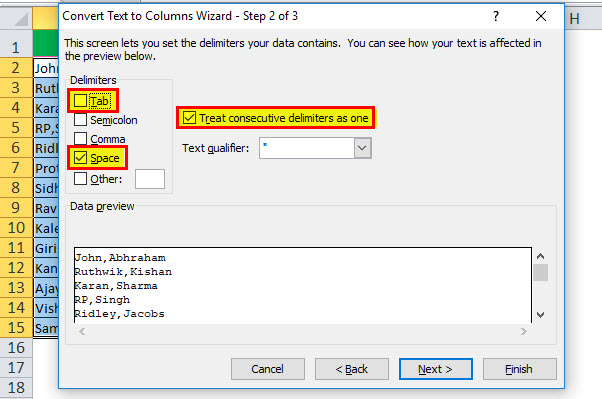
- In the next step, uncheck “TAB” and select “SPACE” as the delimiter. If you think of double/triple consecutive spaces between the names, choose the “Treat consecutive delimiters as one” option. Finally, click on “Next.”

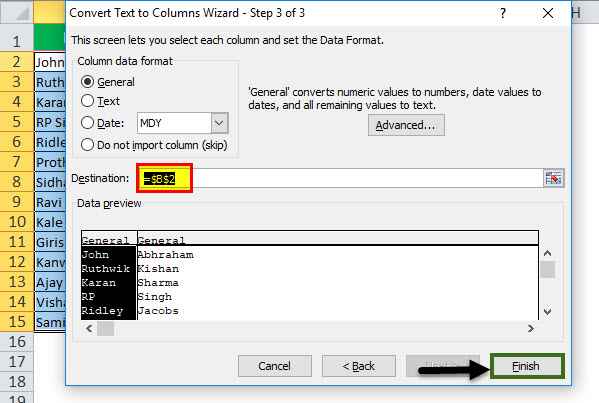
- Select the destination cell. If you do not select a destination cell, it will overwrite the existing data set with the first name in the first column and the last name in the adjacent column. If you want to keep the original data intact, create a copy or choose a different destination cell.

- Click on “FINISH.” That will split the first name and last name separately.
Note:This technique is ideal only for first names and last names. You need to use a different approach if there are initials and middle names.


Examples 2: Convert Single Column Data into Multiple Columns
Let us see how to split the data into multiple columns. It is also part of data cleaning. Sometimes your data is in one single column. You need to divide it into multiple adjacent columns.
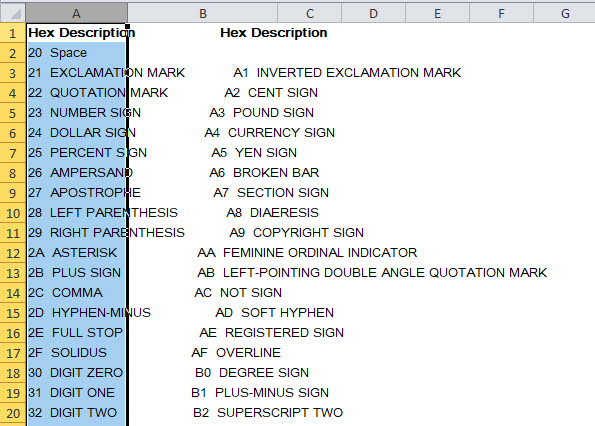
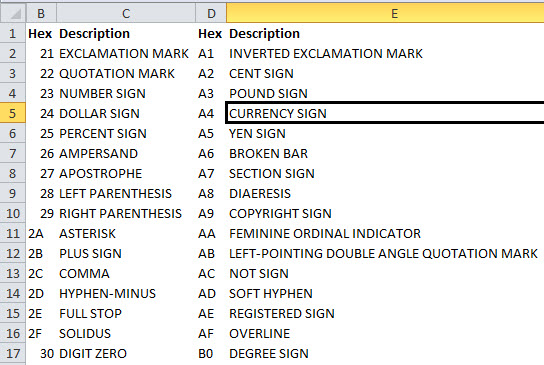
The below data is in one column, and you need to convert it into 4 columns based on the heading.
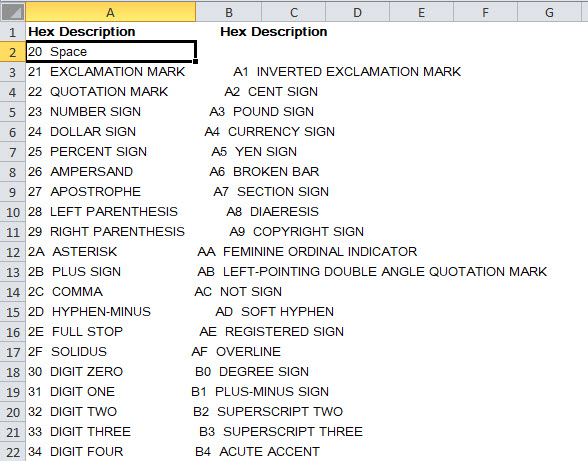
From the above data, we can understand that there are four pieces of information in a single cell: “Hex No., Description,” “Hex No., Description.” Therefore, we will apply the “fixed-width” text to the columns method.
- Step 1: Select the data range.
- Step 2: Go to the “Data” tab and select the “Text to Column” Excel option (ALT + A + E). It would open up the “Convert Text to Columns Wizard” window.
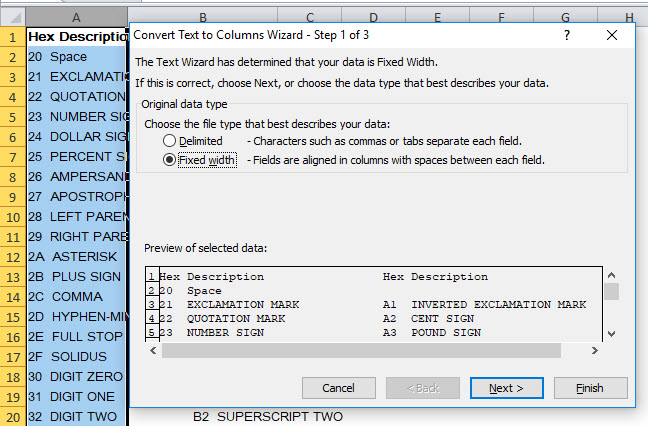
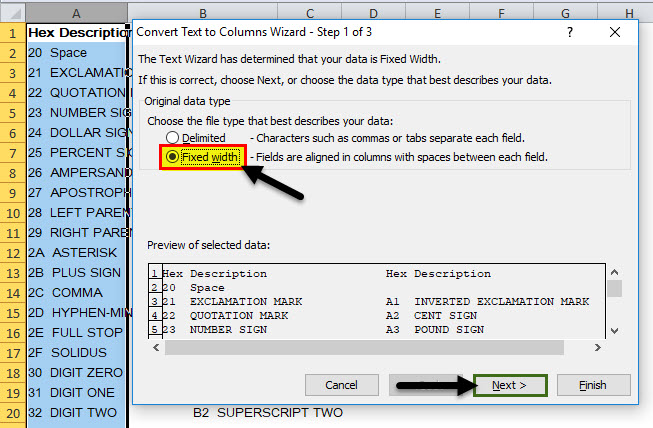
- Step 3: Select the “Fixed width” option and click on “Next.”
- Step 4: The fixed-width divider vertical line marks (called break line) in the “Data preview” window. You may need to adjust it as per your data structure.

- Step 5: Click on the “Next” option and select the destination cell as B1 in the next option. It would insert the data in the new column to have our original data.
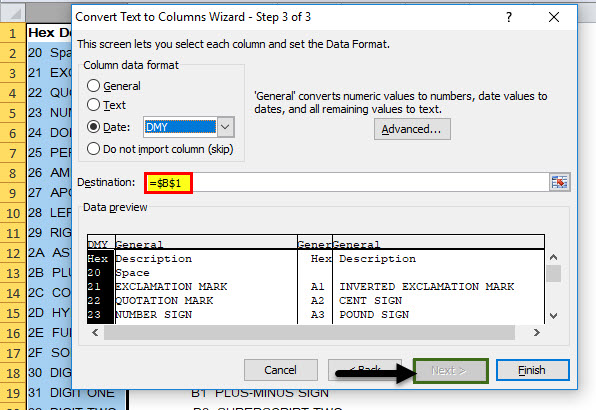
- Step 6: Now, click on the “Finish” button. It would instantly split data into four columns: “Hex,” “Description,” “Hex,” and “Description,” starting from column B to column E.
Examples 3: Convert Date to Text Using Text to Column Option
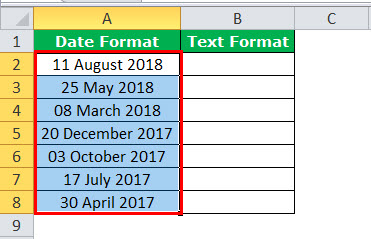
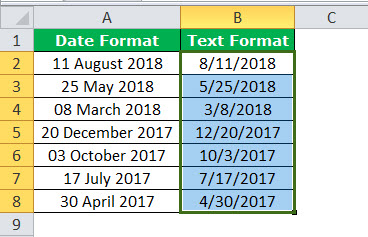
If you do not like formulas to convert the date to text format, you can use TEXT TO COLUMN Excel OPTION. For example, assume you have data from cells A2 to A8.

Now, you need to convert it into text format.
- Step 1: Select the entire column you want to convert.
- Step 2: Go to the Data tab and Text to Columns.
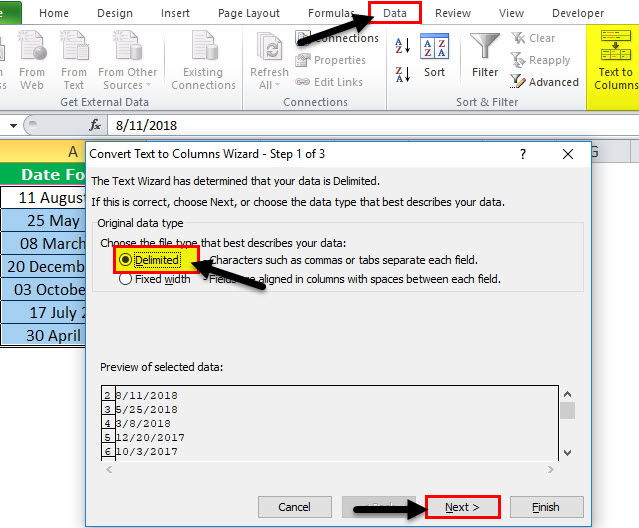
- Step 3: Make sure Delimited is selected and click on the “Next” button.
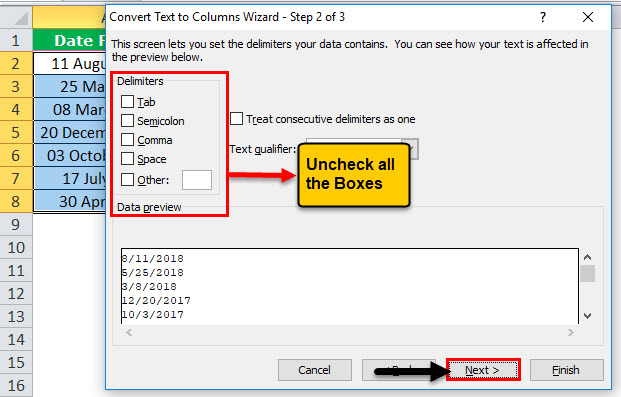
- Step 4: The below pop-up will open, uncheck all the boxes, and click the “Next” button.
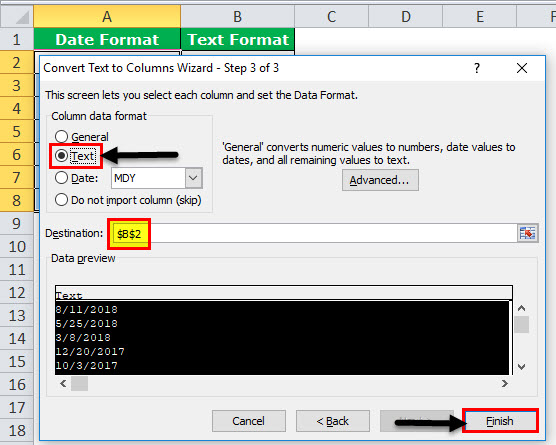
- Step 5: Select the TEXT option from the next dialog box. Mention the destination cell as B2 and click “Finish.”
- Step 6: Now, it instantly converts it into text format.
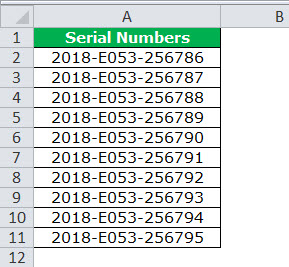
Examples 4: Extract the First 9 Characters from the list
For example, in the data set shown below, the first 9 characters are unique to a product line.
- Step 1: Select the data range.
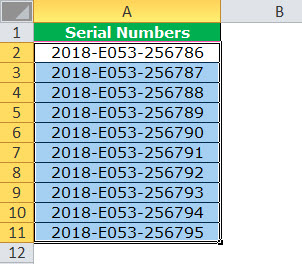
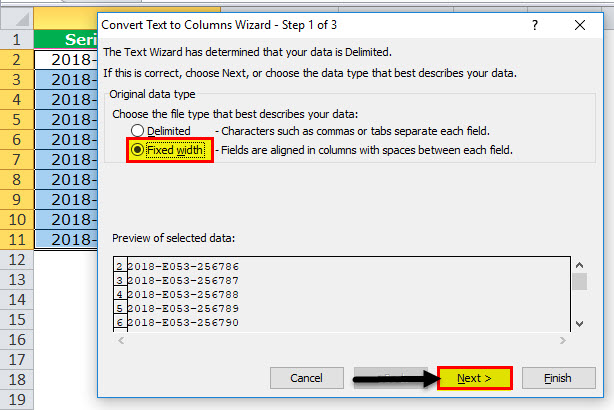
- Step 2: Press “ALT + A + E,” select the “Fixed width,” and click on “Next.”
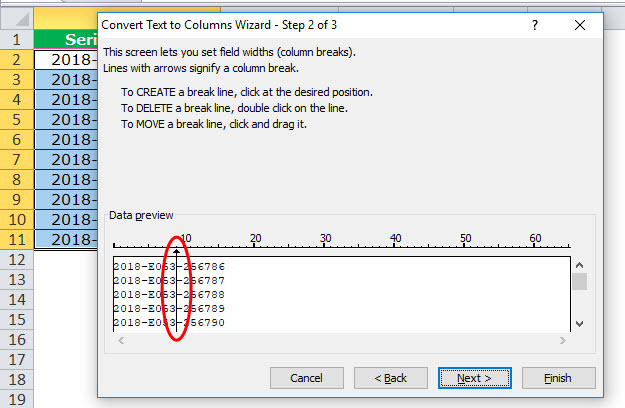
- Step 3: Now, put a delimiter exactly after the 9th character, as shown in the image below.
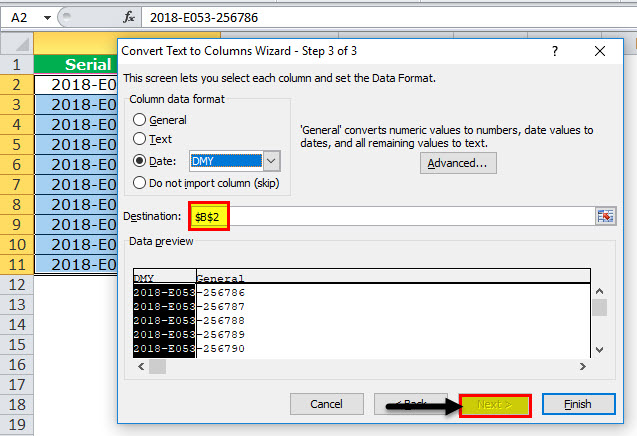
- Step 4: Click “Next” and select the destination cell as B2.
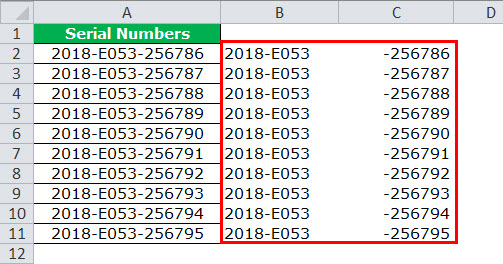
- Step 5: Click on “Finish.” It will extract the first 9 characters from the list in column B and the remaining characters in column C.


Recommended Articles
This article has been a guide to Text to Columns in Excel. Here, we discuss where to convert text to columns in Excel, along with the example and downloadable Excel templates. You may also look at these useful functions in Excel: –