Part of our Rows and Columns in Excel guide
How to Find the Maximum Number of Rows in Excel?
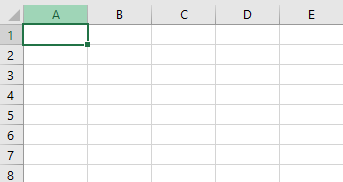
For example, look at the below worksheet preview.
The active cell is the A1 cell. To go to the last row of this column, we need to press the shortcut key “Ctrl + Down Arrow.” It will take us to the last row in the selected cell column.
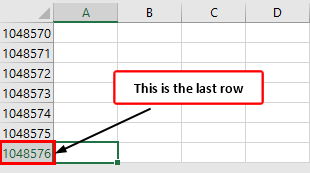
But one thing we need to know about this shortcut is it will take us to the last used cell without a cell break.
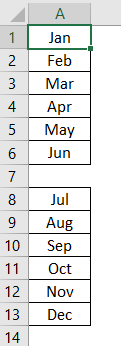
For example, look at the below data preview.
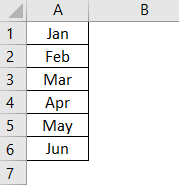
We have some data in the first 6 rows of column 1, and the active cell is the A1 cell. If we press “Ctrl + Down Arrow, “it will take you to the last used cell, not to the last row of the worksheet.
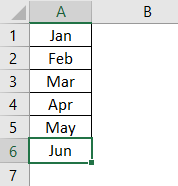
This shortcut key will go to the last used cell without cell breaks. For example, look at the below data preview.
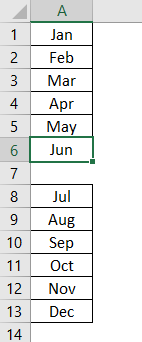
After the first 6 rows, we have a line break of one row, and after that cell break, we have data in another 6 rows. So first, we will press the shortcut key “Ctrl + Down Arrow.” It will take me to the last used row before the cell break, the 6th row.
Again, we will press the shortcut key “Ctrl + Down Arrow” and see where it will go.
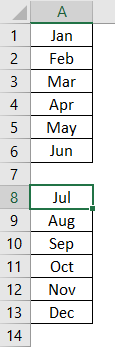
Upon pressing the shortcut key one more time, it has jumped to the next used cell, not to the end of the last used cell. So now, we must press the “Ctrl + Down Arrow” key. It will take us to another last used row, the 13th row.
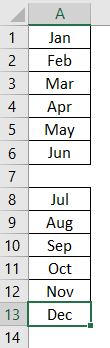
Now, if we press the “Ctrl + Down Arrow,” it will take us to the last row of the worksheet. Like this, going to the maximum number of rows with Excel works.
Limit User Action to Specific Number of Rows in Excel
Often, we do not want users to use all the rows. Rather, we want them to work with a specific range of cells or rows. We can do this by using multiple methods. Below are the ways to restrict user action to particular rows.
Using Hide Method
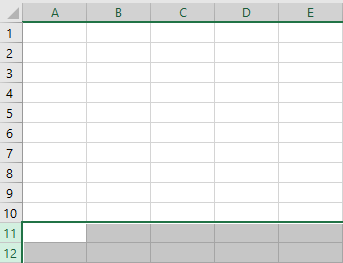
For example, if we want to allow a user to work with the first ten rows of the data, we can hide the remaining rows except for the first 10 rows.
- To hide from the 11th row onwards, we must select all the rows till the 10,48,576 rows.
- Now right-click on the row header and choose the option of “Hide.”
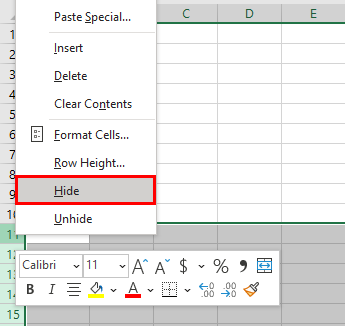
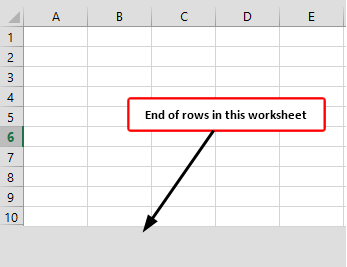
- It will hide all the selected rows, and the user can see only 10 rows.
We can use shortcut keys to hide rows if we do not want to follow the manual right-clicking and hiding method.
After selecting several rows to be hidden, press the shortcut key “Ctrl + 9” (Number 9 should be from the keyboard number, not from the number pad of the keyboard). It will simply hide the rows.
Like this, we can limit the action of users with specific worksheets.
Things to Remember
- Excel 2003 version has only 65,536 rows only.
- From the Excel 2007 version onwards, we have more than 1 million rows.
- If we use all the rows, then the computer should be equipped with a well-versed processor, and RAM capacity should be not less than 8 GB.
Recommended Articles
This article is a guide to the Maximum Number of Rows in Excel. We discuss finding the last row and restricting user action to specific rows in Excel and a downloadable template. You may learn more about Excel from the following articles: –
Recommended Articles
Continue with these closely related articles from the same guide.