
Table Of Contents
What Is Drag And Drop In Excel?
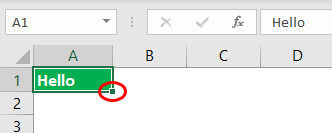
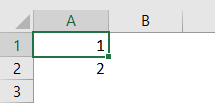
Drag and Drop in Excel option, also known as “Fill Handle”, is the plus (+) icon that appears when moving the mouse or cursor to the right bottom of the selected cell. Using this plus icon, we can pull the active cells formatting, series, or any pattern, to the left, right, top, or bottom.
For example, look at the below image to see what the Fill Handle looks like.

- The Drag and Drop in Excel helps us fill continuous cells w.r.t a series, pattern, or dates to a single row and column at a time.
- It is used to copy the formula output cells for the rest of the output cells, which helps to avoid copy-pasting the formulas every time. It saves time and helps avoid errors.
- The options available when we use the fill handle, are specific to the cell values. For example, in FAQ 2, we saw 4 options. However, when we drag and drop a date, we get another 4 specific options, as shown in FAQ 3.
Key Takeaways
- The Drag and Drop in Excel helps us fill continuous cells w.r.t a series, pattern, or dates to a single row and column at a time.
- It is used to copy the formula output cells for the rest of the output cells, which helps to avoid copy-pasting the formulas every time. It saves time and helps avoid errors.
- The options available when we use the fill handle, are specific to the cell values. For example, in FAQ 2, we saw 4 options. However, when we drag and drop a date, we get another 4 specific options, as shown in FAQ 3.
Excellent Uses Of Drag And Drop Option In Excel
We can use the Drag and Drop Option In Excel for the following purposes, namely:
- Copy the Current Cell Value to other Cells.
- Fill Serial Numbers.
- Insert Serial Numbers Without Pattern.
- Fill to All Below Cell Once.
Examples To Use Drag And Drop In Excel
We will consider examples for the above-mentioned methods.
Example #1 – Copy the Current Cell Value to other Cells
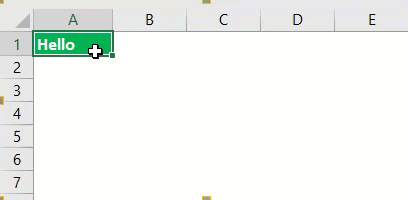
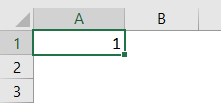
For example, assume you have a certain value in the A1 cell.

- We must use Drag and Drop options now. We can fill the same value besides cells as well. Then, place a cursor on the right bottom of the cell.
- Using this plus icon, we must drag to the right to fill the same value to all the dragged cells.
- After Drag and Drop, we see a small icon on the right bottom of the selected cells. Click on this to see available options.
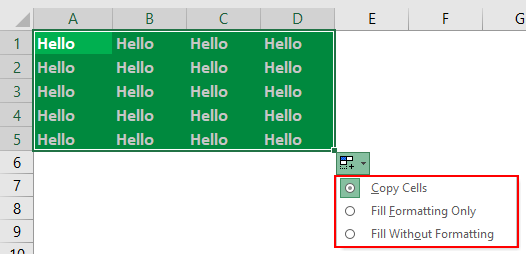
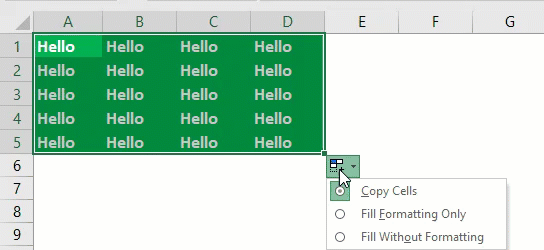
Here, we have three options: “Copy Cells,” “Fill Formatting Only,” and “Fill Without Formatting”. We have dragged and dropped from the active cell to the range A1 to D5, and it has taken everything from the active cell (A1).
But using this option, we can fill only formatting, i.e., without value from an active cell. We can also fill without formatting, i.e., the only value from the active cell without any formatting.
- Let us see how it looks when selecting “Fill Formatting Only.”
- Now, see “Fill Without Formatting.”

Example #2 – Fill Serial Numbers
Using this Drag and Drop, we can also insert serial numbers. For this, first, we must enter at least two consecutive numbers.
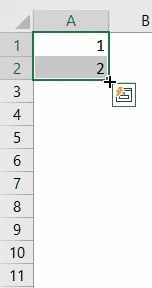
We have entered two consecutive serial numbers in cells A1 and A2. Now, select these two cells and place a cursor on the bottom of the cell to see the Drag and Drop symbol.
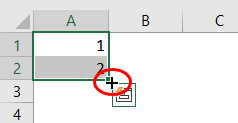
Using this, Drag and Drop until the row number we want is the serial number. In this case, we have dragged until row 10, so our serial numbers will be from 1 to 10.
How Does This Work?
In the previous example, the increment number is by 1, so every time we drag the value to the next new cell, it will increment the value by 1. Since we have dragged until the 10th row, it has incremented the value by ten times from the first cell value, 1.
In the following example, first, we entered two consecutive serial numbers, 1 and 3. Therefore, Excel identifies that the number increments from one cell to another but with a different increment value.
Look at the below image now.
We have entered 1 and 3 in the first two cells. We will Drag and Drop until the 10th row and see what happens.
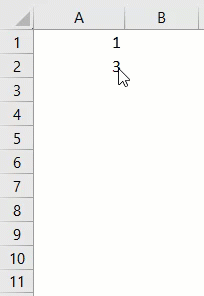
We did not get consecutive serial numbers. Instead, we got all the odd numbers from 1 to 19. That is because, in the first two cells, our values are 1 and 3. However, from the first cell to the second cell, the value is incremented by 2, so when we use Drag and Drop, Excel identifies the pattern as it has to increment by 2 every time it goes to the new cell.
Example #3 – Insert Serial Numbers Without Pattern
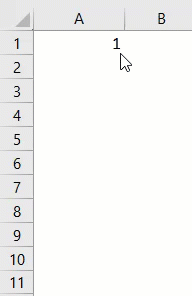
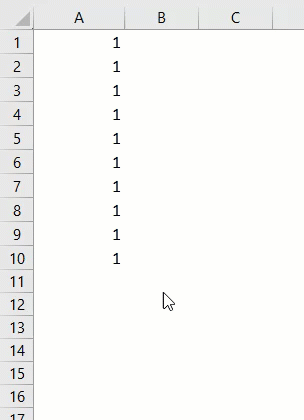
We can also insert serial numbers without entering two consecutive numbers. Instead, just enter 1 in any of the cells.
Now Drag and Drop until the 10th row.
Now, click on the “AutoFill” options box.
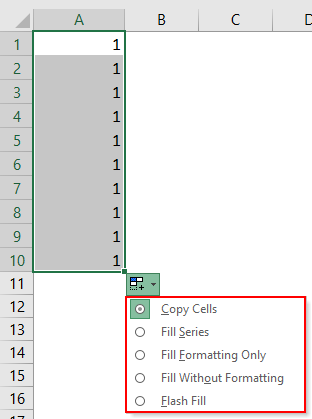
We must choose the “Fill Series” option to get serial numbers incremented by 1.
So, we got serial numbers which are incremented by 1.
Example #4 – Fill to All Below Cell Once
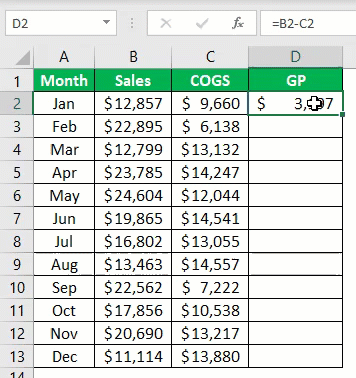
We can fill the formula from one cell to all the below cells using the Drag and Drop option. For example, look at the below image.
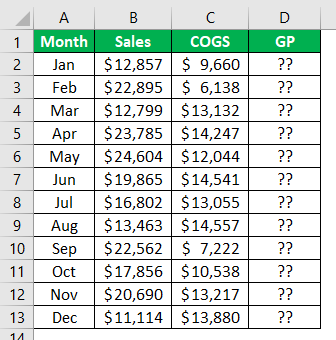
- To arrive at GP (Gross Profit), we must enter the formula as Sales – COGS.
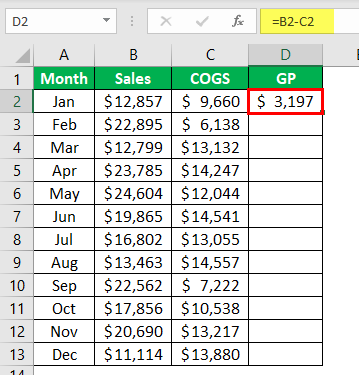
- We usually copy the formula from one cell and paste it to the below cells. But this time, place a cursor on the bottom right of the formula cell, the D2 cell.
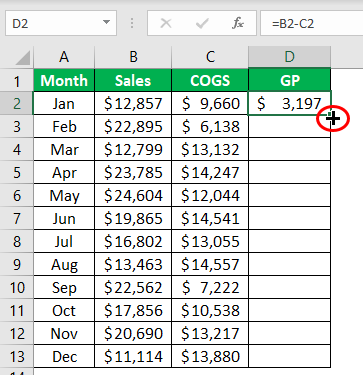
- When we see the “Drag & Drop” option, we need to double-click to apply the formula to the below cells.
Important Things To Note
- Drag and Drop are often called a fill handle.
- The Drag and Drop must not be confused with the copy and paste method.
