Protect Formulas in Excel
Formulas are an integral part of an Excel file. We cannot create reports or organize the data without formulas, so formulas are pivotal in Excel. Once the formulas are applied, we can edit them at any point, which is common, but there is a possible error. Since we can edit the formula, we end up deleting or incorrectly editing the formula so that it will cause an inaccurate report summary, and it may cost you millions of dollars. If you can spot the error quickly, you are lucky. But if not, you will end up in a mess. But the good news is that we have an option of protecting our formulas so that we will end up in a lot. This article will show you how to protect formulas in Excel.
How to Protect Formulas in Excel?
Protection is the key to excelling and sharing the same Excel workbook with others. So the protection of formulas is part of Excel’s worksheets protection. Therefore, we need to follow simple steps to protect our formulas.
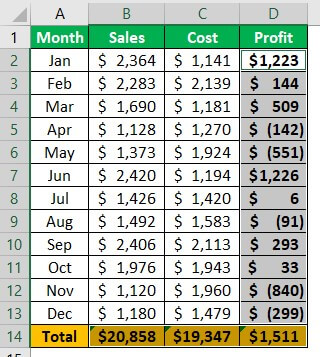
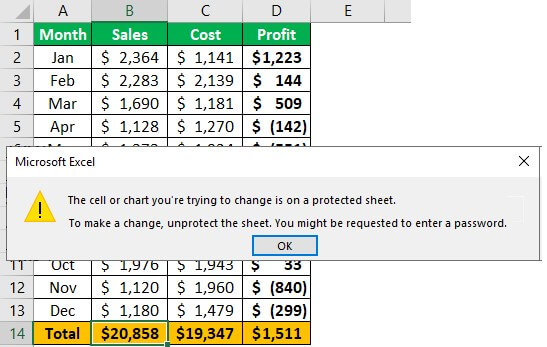
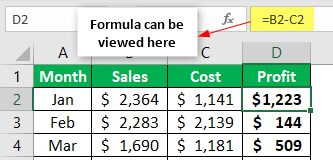
For example, look at the below data in Excel.All the black-colored cells are formula cells in the above table, so we need to protect them. Assume we need to allow the users to work with other cells except for the cells with formulas. Follow these below steps, and protect them.
- By default, all the cells are locked in Excel. So, if we protect the worksheet directly, it will save all the cells, and users cannot work with any of the cells. So first, we need to unlock all the cells of the worksheet.
First, we must select the entire worksheet and press “Ctrl + 1” to open the “Format Cells” window.
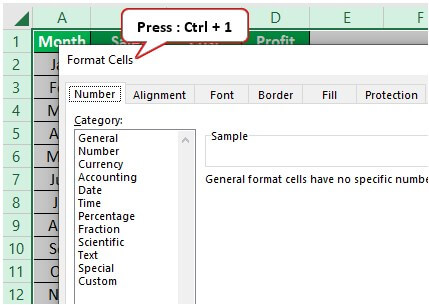
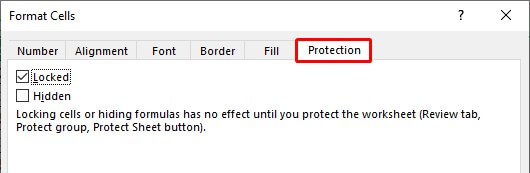
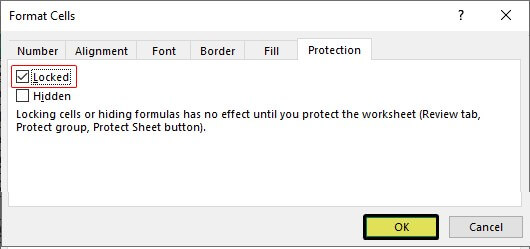
- In the above window, click on the “Protection” tab.

- As we can see under “Protection,” the checkbox of “Locked” is ticked. So, all the cells are clocked now. Therefore, uncheck this box.
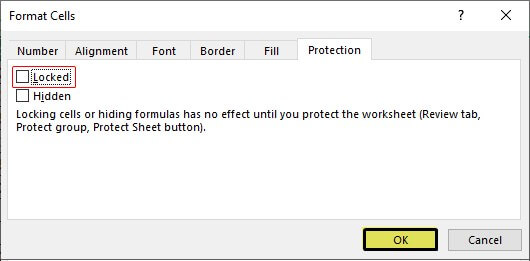
Next, click on “OK,” and all the cells are unlocked now.

- Once all the cells are unlocked, we need to lock only formula cells because we need to protect only formula cells, so how do we know which cell has the formula in it?
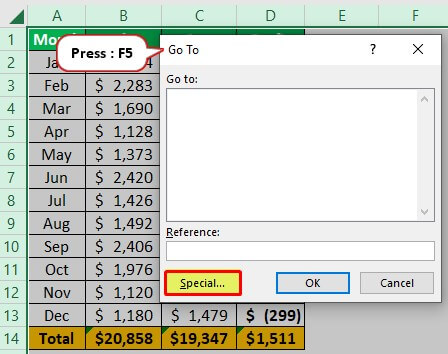
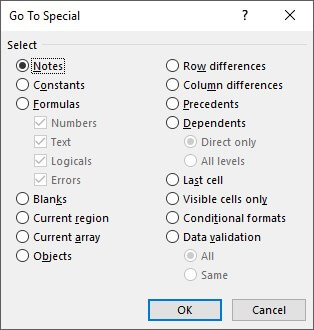
First, we should select the entire worksheet and press the “F5” key to open the “Go To” window and press on the “Special” tab.

- Consequently, it will take us to the “Got To Special” window like the one below.

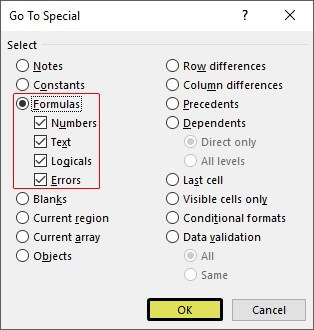
- From the above window, we must choose “Formulas.”
- Then, click on “OK.” As a result, all the cells which have formulas will be selected.
Look, it has selected only the black-colored font cells.

- Again, we must press “Ctrl + 1” to open the “Format Cells” window. We need to make these cells locked this time, so choose “Locked.”
Then, click on “OK.” It will lock only selected cells, and protection applies only to these cells.

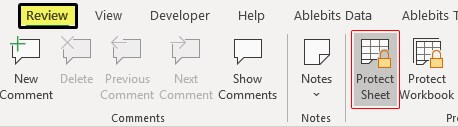
- Now, we need to protect the worksheet to protect formulas in Excel. So, click on the “Protect Sheet” option under the “Review” tab.

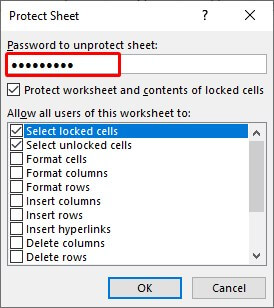
- In the “Protect Sheet” window, we need to enter the password to protect the locked cells, so insert the formulas we would like to give. (Ensure you remember the formula)
In the above window, we can choose other actions that we can perform with locked cells. So by default, the first two options are selected. If we want to give any further actions to the user, we can check those boxes. We are not allowing users to do any activity with locked cells except for selecting cells.

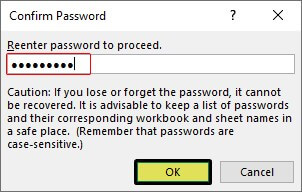
- We must click on “OK” and reenter the password in the next window.
Click on “OK.” The formulas are now protected.

If we try to perform any action in formula cells, it will show the below message.
Like this, we can protect formulas in Excel.
How to Hide Formulas in Excel?
The formulas are protected. But, we can go one step further, i.e., we can hide formulas from viewing in the formula bar.
- As of now, we can see the formula in the formula bar even after protection.
So to hide them, we must first unprotect the worksheet that we have protected. Then, choose only the formula cell and open the “Format Cells” dialog box.
- Under the “Protection” tab, we must check the box “Hidden.”
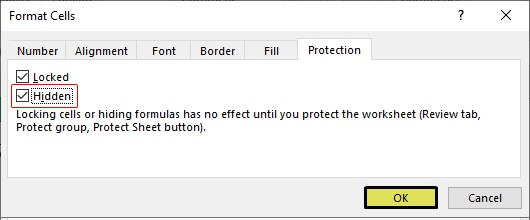
Then, click on “OK” to close the above window.
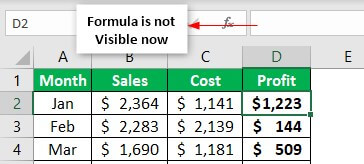
- Now again, protect the worksheet. All the formula cells will not show any formulas in the formula bar.
Things to Remember
- All the cells are locked by default, so only formula cells unlock other cells to protect.
- To select only formula cells, we must use the “Go To Special” option (F5 is the shortcut key). Under “Go To Special,” click on “Formulas.”
Recommended Articles
This article has been a guide to Excel Protect Formulas. Here, we learn how to protect Excel formulas and hide the formulas and downloadable Excel templates. You may learn more about Excel from the following articles: –