How to use Power BI Query Editor?
Query Editor is the tool available with Power BI Desktop to transform the data and shape data structure to meet the users’ needs. After transforming the data, we can load it back to the Power BI Desktop to start working with the transformed data.
This article will show you how to use the Power BI Query model to the full extent.
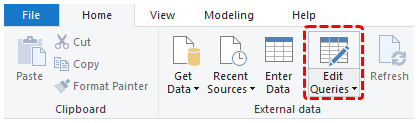
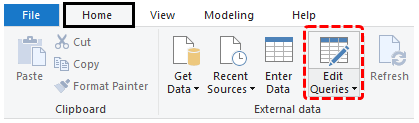
- When you open Power BI Desktop under the “Home” tab, we can see this “Edit Queries” option.
- When you click on this option, it will take you to the “Power Query Editor” window. With no data uploaded to Power BI, we can see a window like the one below.
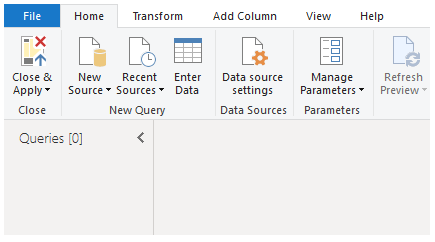
But without data, we cannot do anything with “Power Query Editor.” So, let us upload some data and see how to use this window.
We will upload the data below to the Power BI Desktop through Excel Workbook. So, you can download the workbook and upload the same to follow along with us.

After uploading the data, we see the same in “Data Layout.”
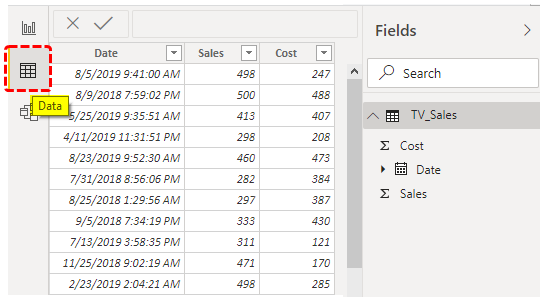
Now, in this data, we have a date column that includes time, but we do not want to see this time. We do not have the “Profit” column, which is arrived at using the formula: Sales – Cost.
So, all the data transformation is done using “Query Editor” in Power BI.
- Go to the “Home” tab and click “Edit Queries.”
When you click on this option, it will take you to the “Power Query Editor” window with uploaded data.
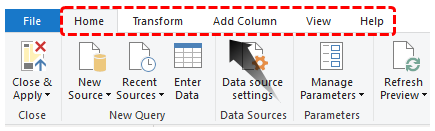
In the “Power Query Editor” window, we have 4 common options.
- The first is the “Ribbon” tab.
- The second is the “Table” name of our data table.
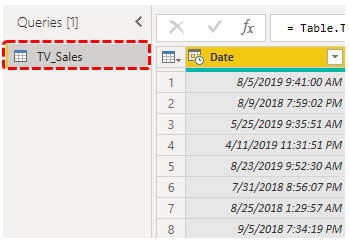
- The third is the data preview of the table.

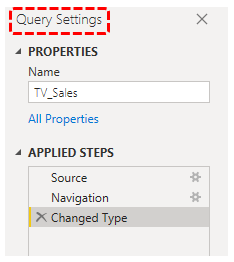
- The fourth is the “Query Settings” window. In this, we can cancel the changes we make before uploading the data back to Power BI Desktop.
- Our first requirement of the data transformation is to change the “Date” format of the column “Date.” So, select the column and click on the “Format” option.

- When you click on this, it will open up the below option.
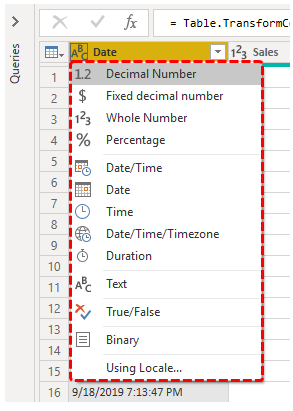
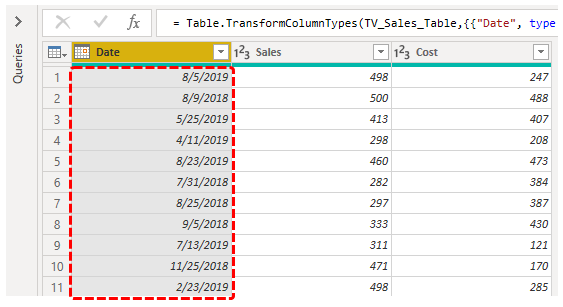
- From this, choose only the “Date” option. It will format the date and time to only “Date.”
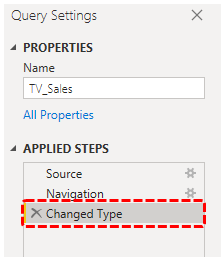
- When this action is performed, we can see this step recorded in the “Query Settings.”
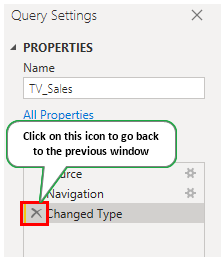
- If you wish to return to the previous step, you can delete this step by clicking on the “Delete” icon.
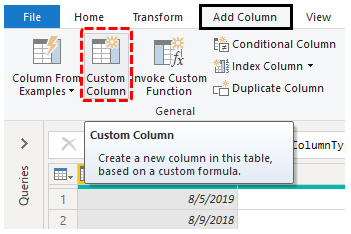
- We must add a new column to arrive at the “Profit” value. So under “Add Column,” click on “Custom Column.”
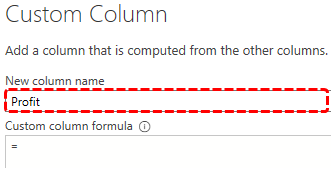
- It will open the “Custom Column” window.

- Give a name for the “Custom Column” as “Profit.”
- Next, we must apply the formula to determine the “Profit” value. First, under the “Custom Column” formula, apply the formula as shown below.
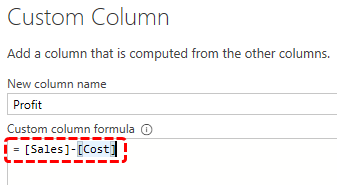
Note: Double click on column names to insert them into the formula field.
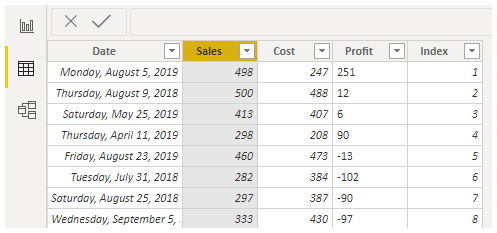
- Now, click on “OK.” We can see the new column in the data table.
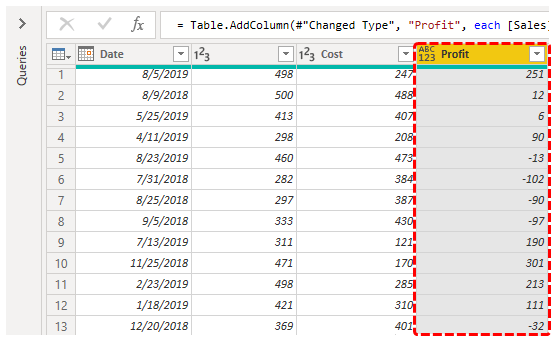
So, the column not there earlier in the data table has been added.
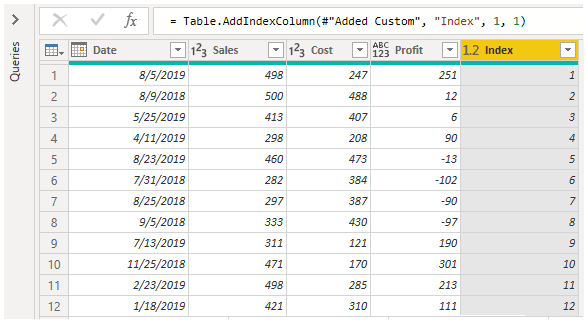
- Now, assume we need to insert “Serial Number” to have index numbers. Then, under the same “Add Column” tab, click on the “Index Column” drop-down list.
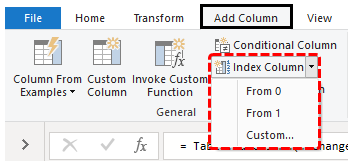
- If you want the index numbers to have appeared from 0, then choose “From 0.” If you want the index numbers to have appeared from 1, then choose “From 1”. We have chosen “From 1,” and we got below the new column.

- We will load the newly transformed data back to Power BI Desktop. Then, under the “Home” tab, click on the “Close & Apply” option.
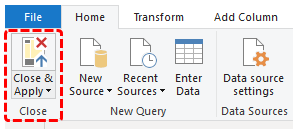
- As you click on the above option, it will close the window and show the applying changes message.
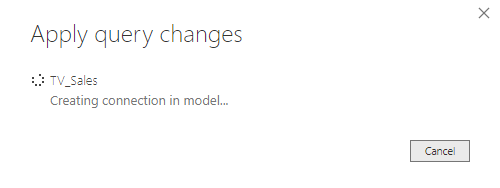
Now, we have newly transformed data in place.
Like this using “Power BI Query,” we can transform the data.
Note: We can also download Power BI Query Editor file from the link below and view the final output.
Things to Remember
- It is nothing but a Power Query Editor.
- It is used to transform the data.
- There are plenty of options available in the Power BI Query model. According to the data structure requirement, we can use them in Power BI.
Recommended Articles
This article is a guide to Power BI Query. Here, we discuss using the Power BI query editor to transform the data that meets users’ needs, along with practical examples. You can learn more about Power BI from the following articles: –